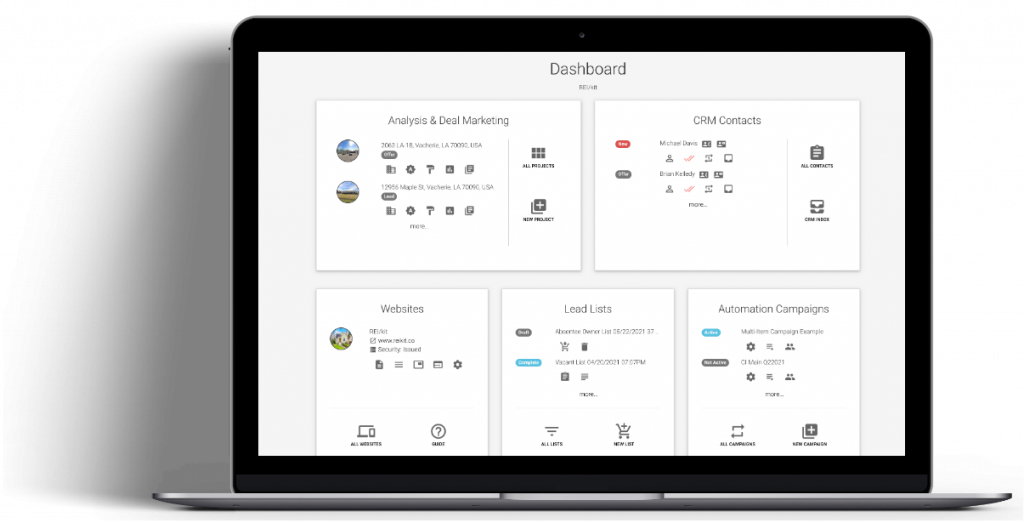
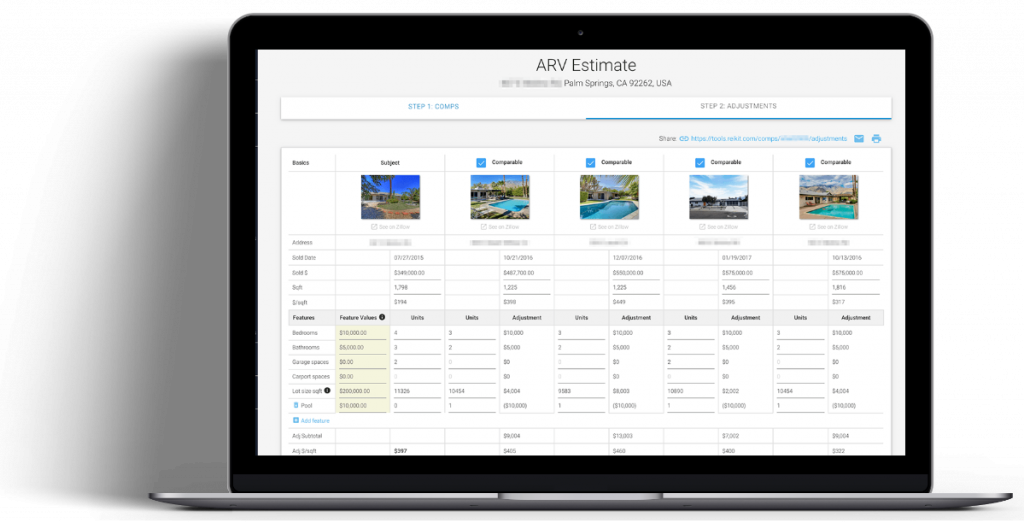
Your REI/kit CRM is completely integrated with all of the other tools that are available to you, such as Lead Lists, Campaigns, Virtual Phone Numbers, Analysis Projects, and so forth.
The CRM’s strength is in making you a follow up super-star, by allowing you to view all the threads between you and a contact.
Every text message, phone call, ringless voicemail, email, Property Lead Sheet, files, notes, and any campaigns that they were subscribed to, all in one central place.
Below are the basics that will get you started.
Contacts CRM Navigation Overview #
The CRM has two levels of Navigation:
1) The first is the main CRM level navigation (for all contacts).
![]()
2) The second is the Contact-level navigation (for a specific contact).
![]()
Let’s start with exploring your options in the All Contacts CRM screen.
All Contacts Level Navigation #
All Contacts Main Screen #
Clicking on the CRM Contacts icon will open the All Contacts Main Screen.
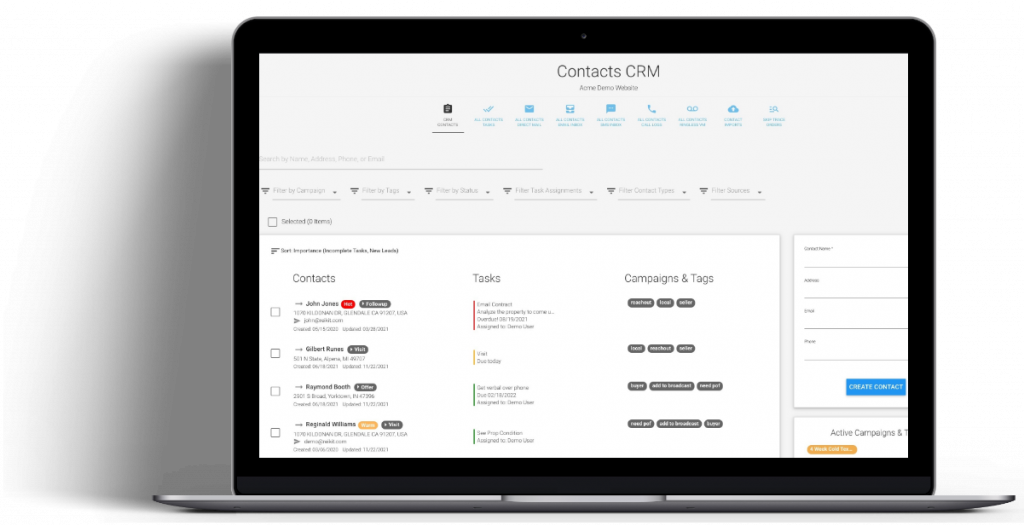
The main area of the All Contacts CRM screen houses and displays the list of all of the contacts that are in the CRM.
Above the displayed contacts listing are the different filtering and action functions:
In this area you are able to:
- Search for contacts
- Filter your contacts in different ways, such as by Task Assignee, Contact Type, or Tag
- Select contacts in bulk or individually to then perform additional actions on
Below that are three columns for Contacts, Tasks, and Campaigns & Tags:
- Contacts column displays basic information for the contact
- Tasks displays a task assigned to the contact
- Campaigns & Tags column displays any Campaigns that a contact is subscribed to or tags that have been assigned
All Contacts Tasks #
The icon directly to the right of the Contacts CRM icon on the main navigation screen is the All Contacts Tasks icon.
On this screen you’ll find all tasks that have been created for every contact.
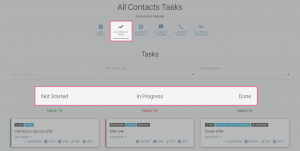
Just like with the main CRM screen, at the top you have the ability to find tasks with searches, or by filtering by Task Type or Assignee.
Underneath the filtering area are all of the task tiles, spread across three columns that help you track progress of all of your tasks.
This All Contacts Tasks view is enormously helpful for when you’ve launched a campaign and are starting to get replies back from many people.
Simply use the Start, Done, and Restart icons to move the task tiles across the columns as you work through the tasks.
All Contacts Email Inbox #
In the All Contacts Email Inbox, not surprisingly you’ll find emails both sent and received for all contacts.
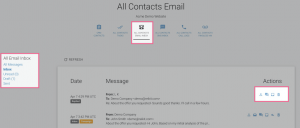
The left-hand menu has links for the different email box views, and in the Actions column to the right of every email entry are shortcut icons.
The All Contacts Email Inbox provides an at-a-glance overview of how your email campaigns are shaping up across all contacts.
All Contacts SMS Inbox #
Again, on this screen you will find all text messages that have been exchanged between you and all contacts.
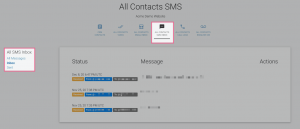
When you first send off an SMS campaign, there may be quite a bit of response.
The All Contacts SMS Inbox is a great way to separate positive leads from the others, as it displays the response right on the screen.
Use the Actions column to the right of every SMS entry for shortcut icons directly to the lead’s SMS Inbox, so that you can continue the conversation there.
All Contacts Call Logs #
The All Contacts Call Logs also shows all calls made or received between you and all contacts.
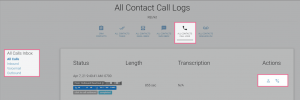
If you have just received a phone call from someone who left a message, but aren’t sure who it was, this is the screen to look at.
Click on the play icon to hear the voicemail, and then follow up with them using the icons on the right.
All Contacts Ringless VM #

The All Contacts Ringless VM shows all ringless voicemails delivered, sent, or scheduled, to all contacts.
Contact Level Navigation #
The All Contacts navigation gives you that real birds-eye view of all of the communication and follow-up between you and all of your contacts.
Now let’s look at how to navigate the CRM for just a single contact.
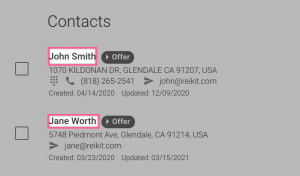
Clicking on the name of any contact in the main CRM screen will bring up the Contact Level navigation.
Activity Feed #
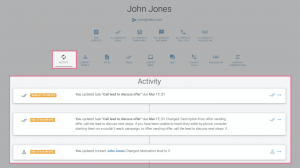
The Activity Feed is a chronological view of communication between you and the contact, and any changes to the contact.
And we mean everything – every single phone call, email, text, and so on. It even shows when you added a note, completed a task, or added additional information to the contact profile.
Weeks down the road when the contact gets in touch, you’ll be able to look at the activity view and remember where you left off.
Contact Profile #
The Contact Profile houses every detail on a Contact.
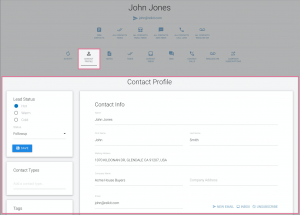
This screen has a ton of information, as well as many actions that you can perform to categorize and systematize your follow-up.
On the left-hand side of this Contact Profile view you can:
- Change the lead’s motivation level
- Change their status
- Add Contact Types
- Add Tags
- Link an existing or new Analysis Project related to the contact
- Select and upload files from your computer into the Contact Profile, such as contracts or correspondence
On the right you’ll find the contact information, phone numbers, and Seller Property Lead Sheet(s), if any.
Lead Sheets #
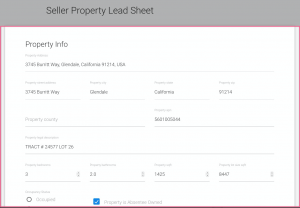
A Lead Sheet is the profile of the lead’s property, and allows you to fill out important information.
A lead sheet link is auto-generated if your seller leads are from the Lead Lists tool or if you manually imported into your CRM.
Have this Lead Sheet screen up before you cold call, to add property stats, the seller’s reason or motivation for selling, or even information on their lender, among other criteria.
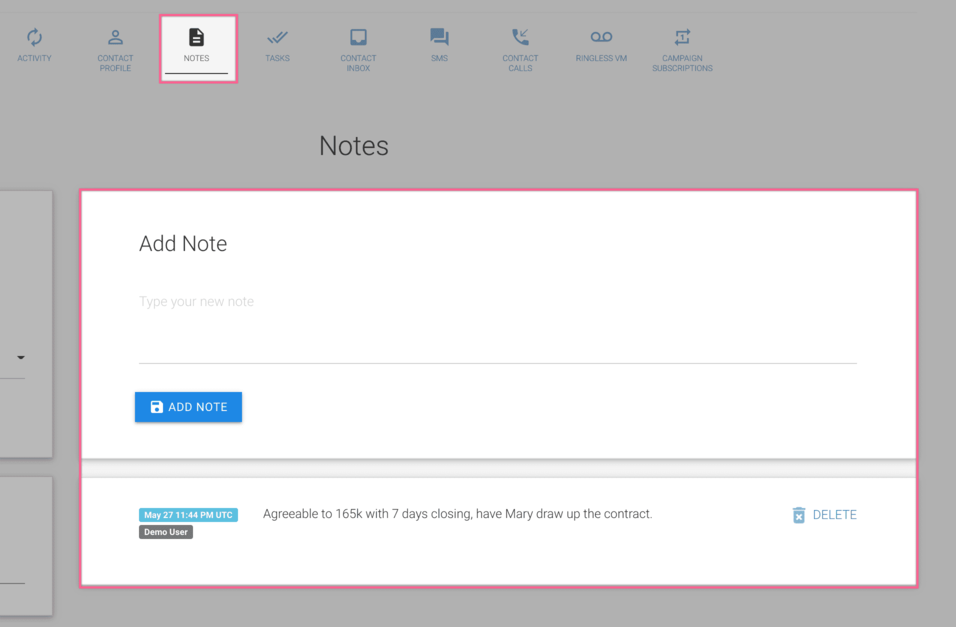
Notes #
We make notes easy, and again they are attached directly to the contact.
Tasks Board #
In this view you will see every task for that contact.
You can also easily add a follow-up task; assign it yourself or to a team member to move the contact along the lead funnel.
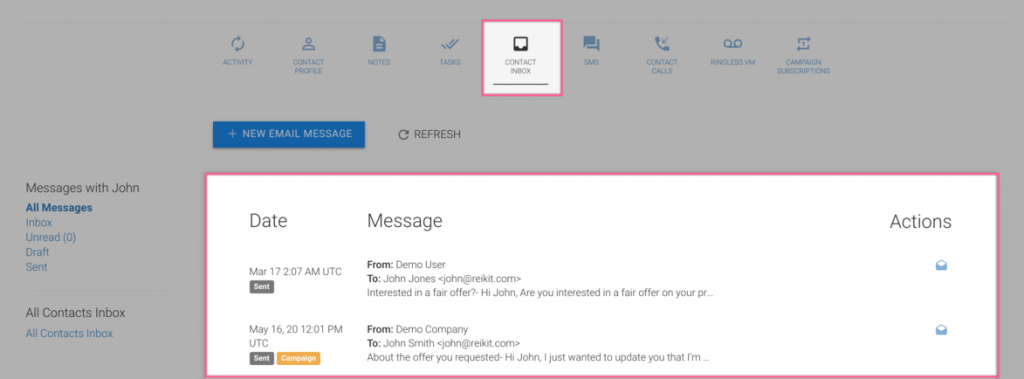
Contact Inbox #
It operates much like the email inbox you likely already have elsewhere, but the sent, received, and draft messages are just for this specific contact.
SMS #
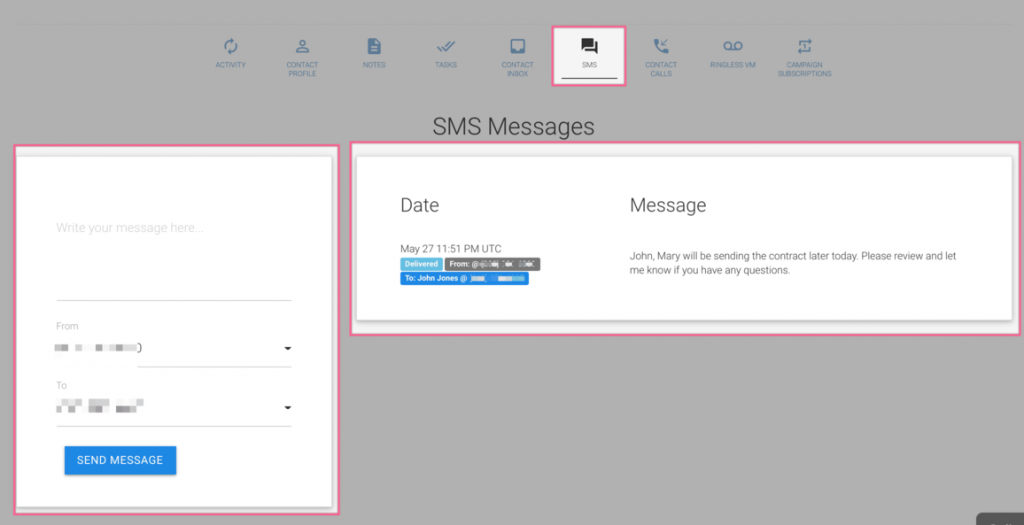
View your entire SMS conversation with the contact here in real time.
Simply type your message into the box at the top, and select which of your virtual phone numbers you want the SMS to be sent with (if more than one).
Any replies that you receive will show up on this screen as well.
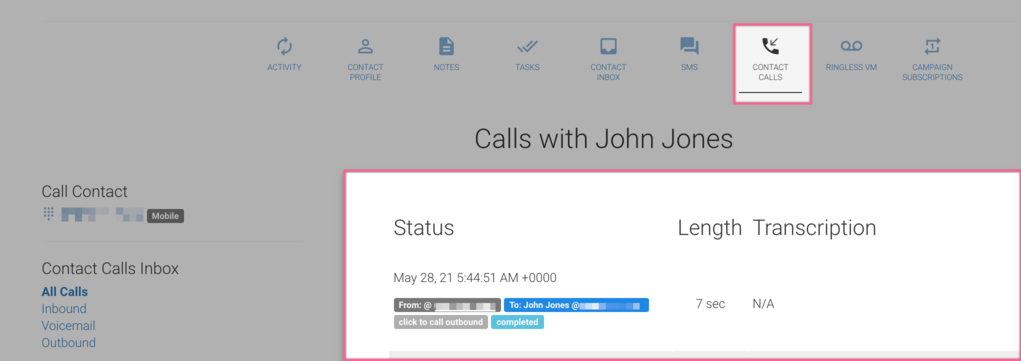
Contact Calls #
Made a call to the contact using the CRM? Received a call from them to your virtual number? You’ll see it all on this screen.
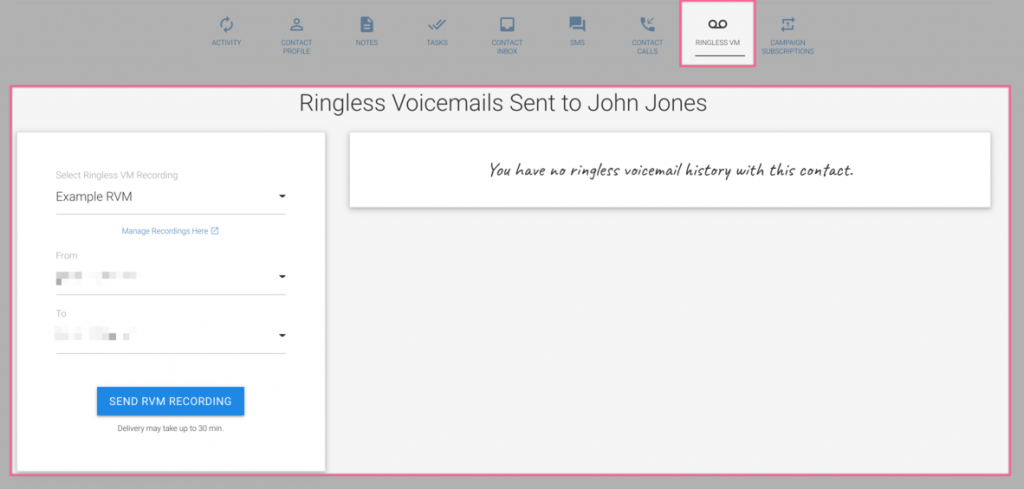
Ringless Voicemail #
This view shows all of the Ringless Voicemail messages that you have sent to the contact.
Campaign Subscriptions #
This screen shows the all of the campaigns that a contact is a part of, and the status of each sequence item in each campaign.
It also displays any scheduled texts, ringless voicemails, and emails, and campaign related tasks.
You can also use this section to add or remove a contact from a campaign individually.
Need support? #
Send your questions to support@reikit.com


