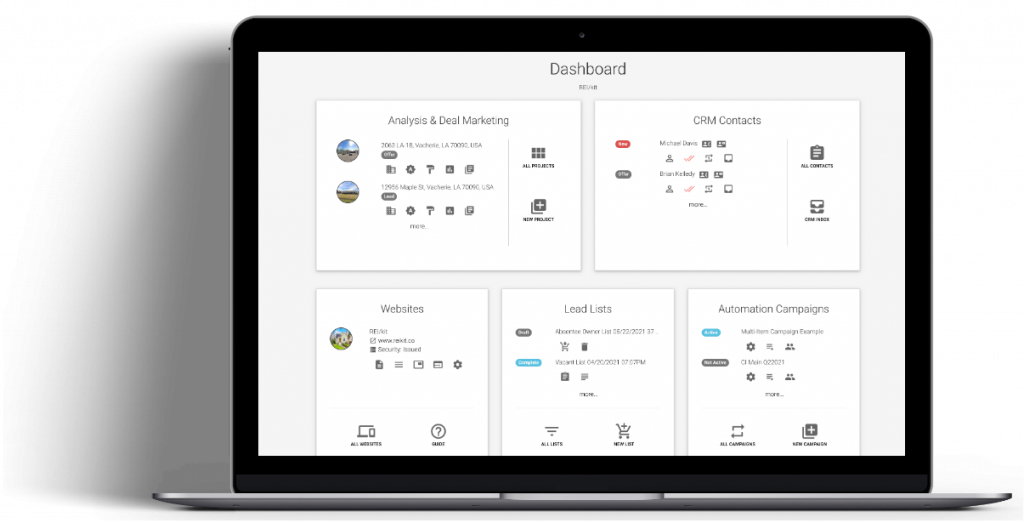
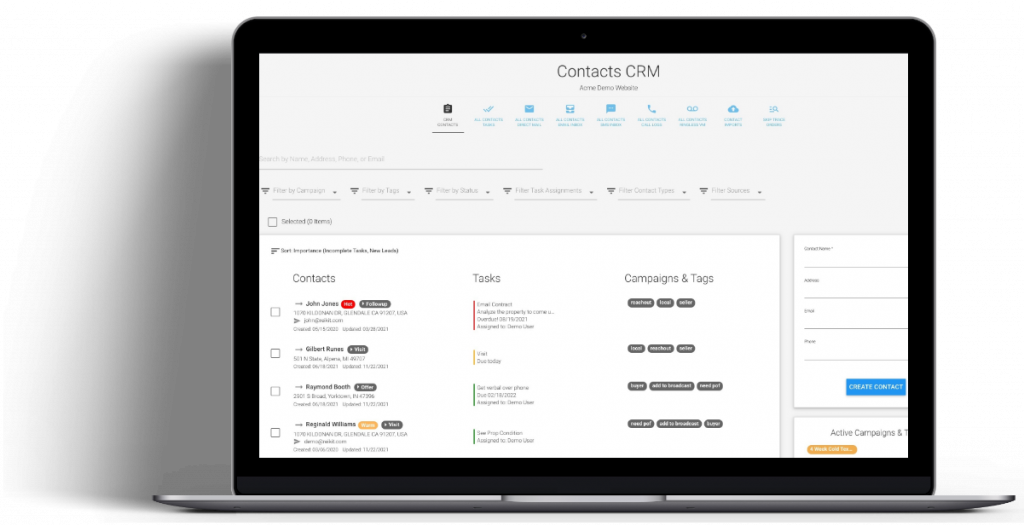
You interact with the direct mail product in two areas: Direct Mail Settings, and the CRM. The settings allow you to set up your return addresses, update your mail templates, and see your mail purchases; and the CRM is where you do the actual sending of mail pieces to your contacts.
Direct Mail Settings #
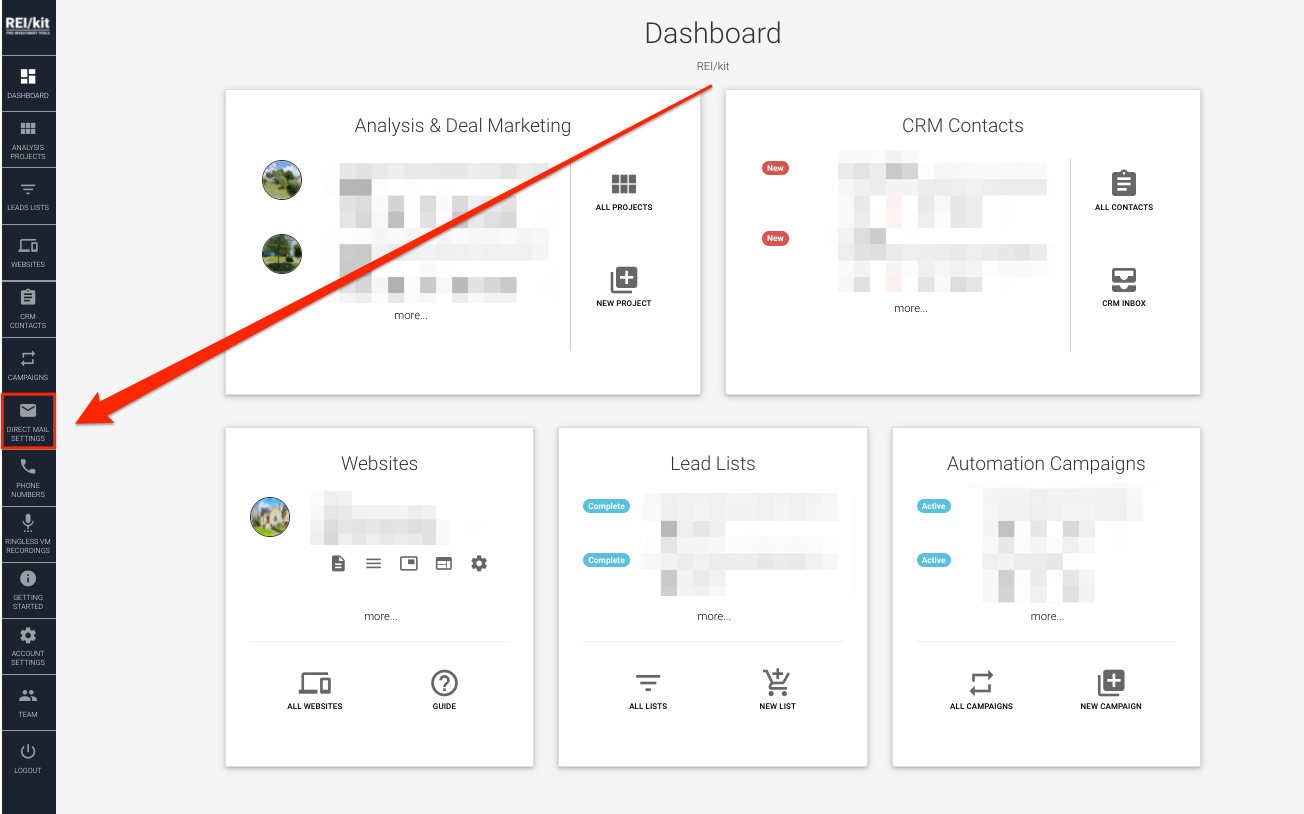
Direct mail settings is where you initially set up your Direct Mail before sending any mail through the CRM. You can get here by clicking on the “Direct Mail Settings” icon in the left hand navigation of the REI/kit software.
Return Addresses #
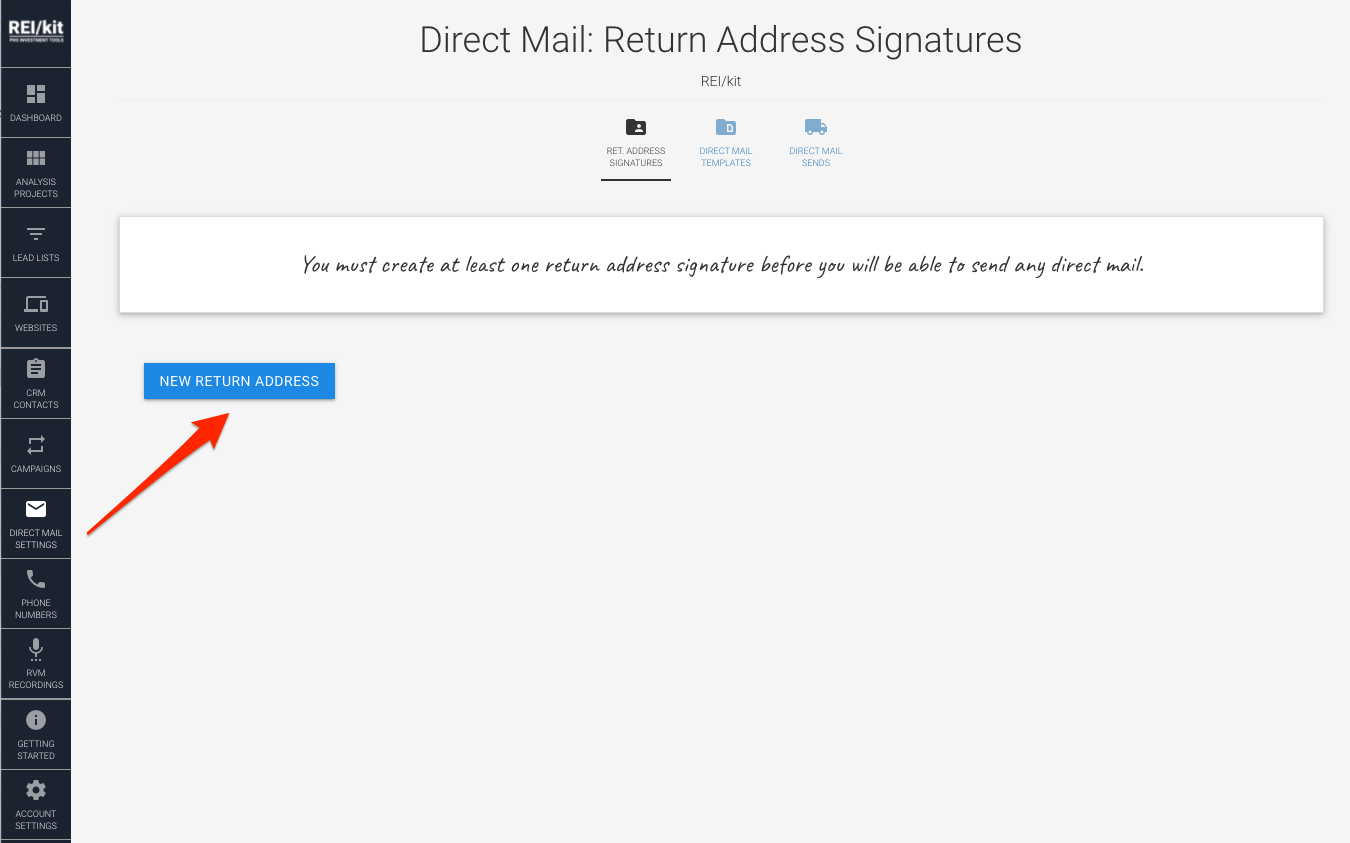
The first thing that you need to do before you will be able to send any mail is to create at least one Return Address Signature. This will be the return address that will be printed on the postcard or envelope.
Direct Mail Templates #
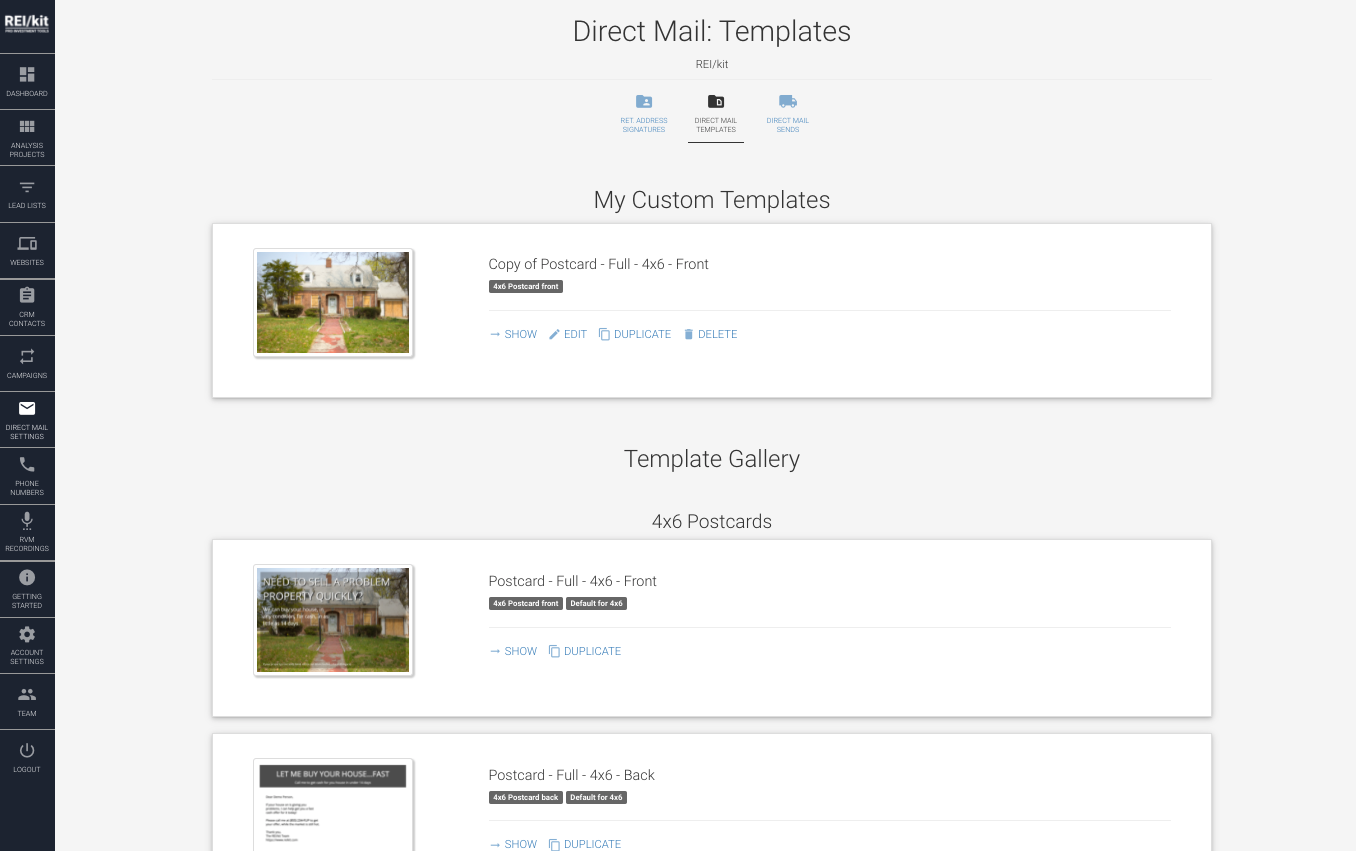
Direct mail templates shows you the list of templates available to you. There are two kind of templates: The “Global Template Gallery”, and “My Custom Templates”.
Global Template Gallery #
These are the pre-created templates available to you in the system.
You cannot edit these, so if you want to customize any of the template text or upload your logo to the template, then you would have to duplicate them into your Custom Templates, otherwise you can use these as-is in your mailers without customization.
My Custom Templates #
If you would like to customize the text or upload a logo, or otherwise change the design of a Global template, then you would need to duplicate a Global template into your Custom Templates and edit it appropriately.
You can also create a new template from scratch using the “NEW DIRECT MAIL TEMPLATE” button at the bottom of this page.
Warning: If you do not possess technical skills or you do not have access to a designer, then it is not advisable for you to edit anything but the basic fields in the template. We do not offer design services and will not be able to help you with your template design. If your subscription plan allows it, you can invite another team member such as a designer that only has permissions to edit your direct mail templates for you.
Direct Mail Sends #
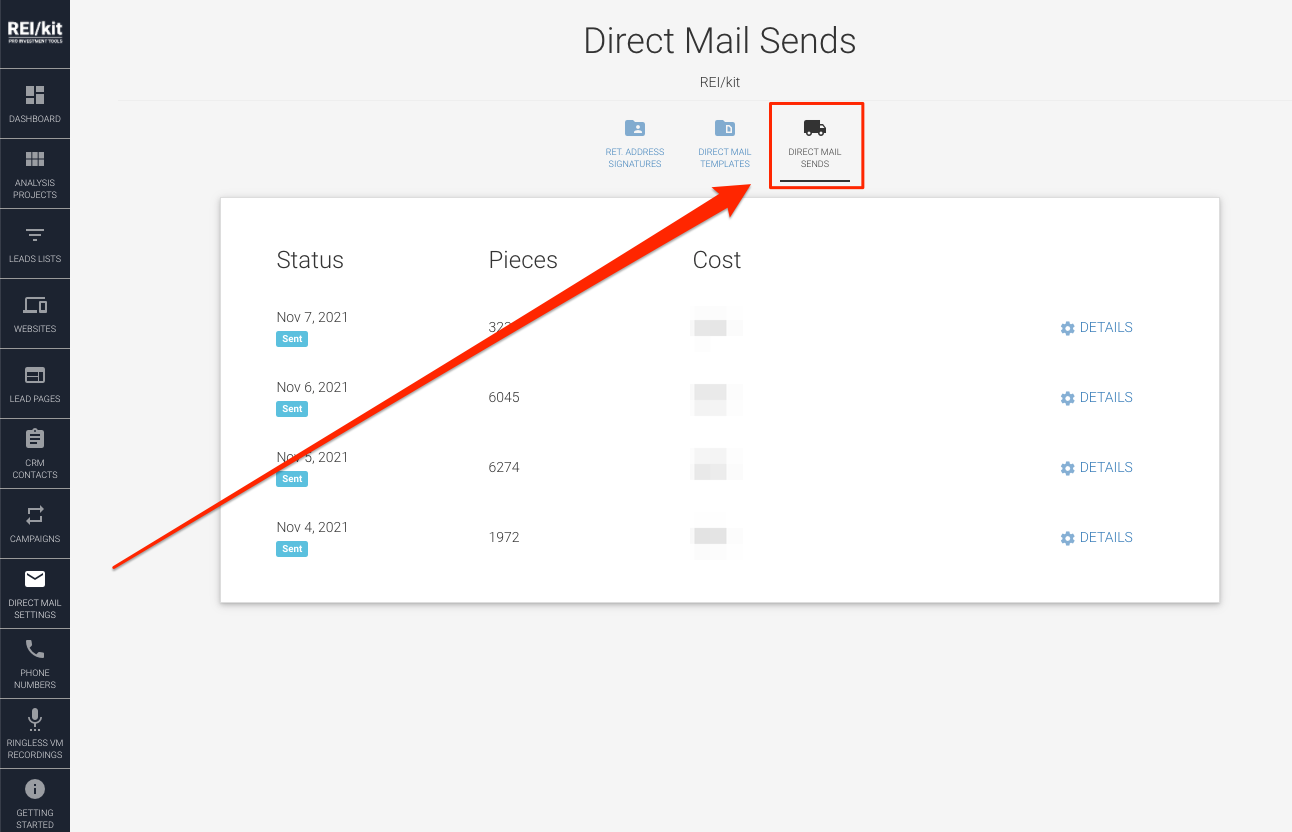
This area shows a list of your daily mail sends. Each day your scheduled mail for that day gets picked up out of the outbox, purchased, forwarded for fulfillment, and ultimately sent.
All Contacts Direct Mail #
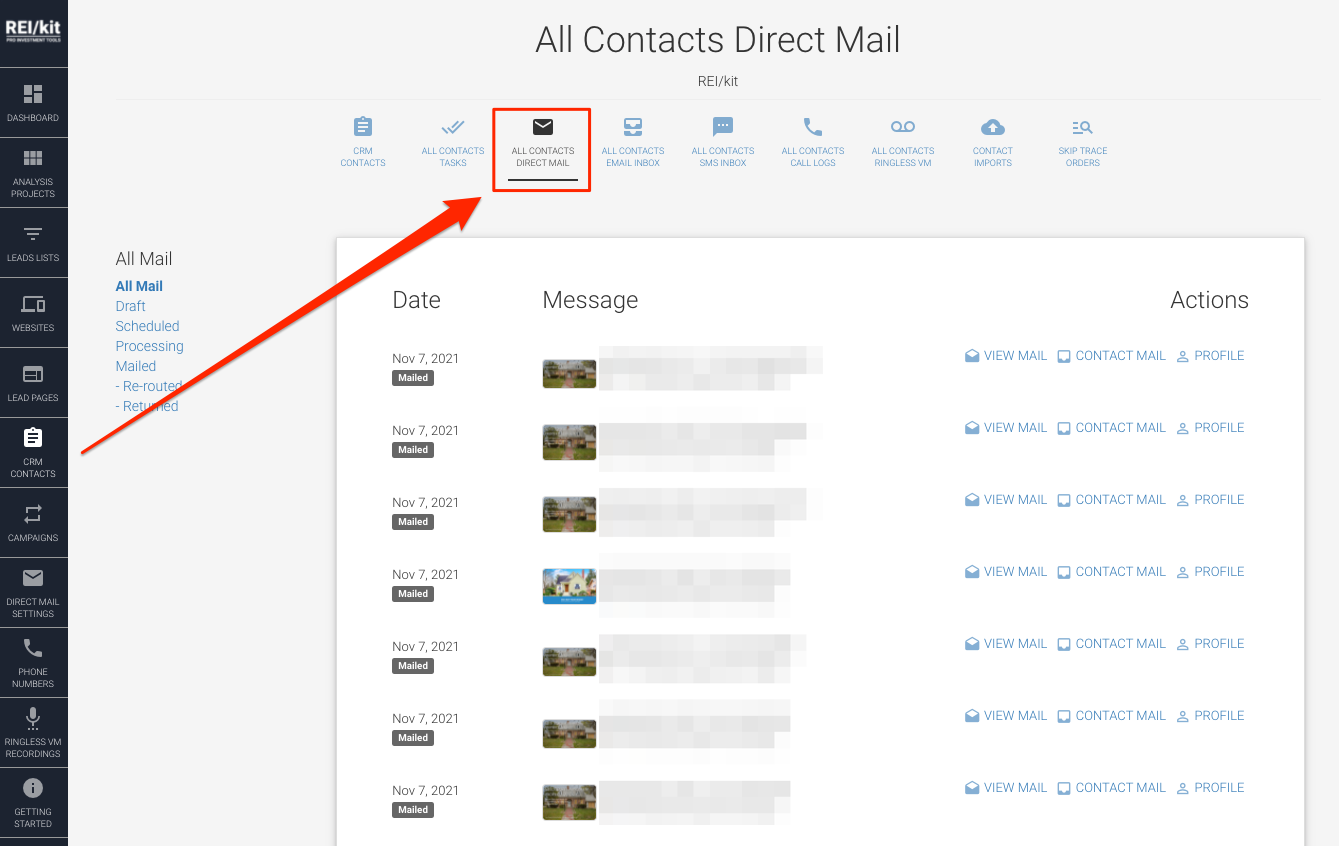
In the main Contacts List view of the CRM you will now see an “All Contacts Direct Mail” icon, which will take you to the list of mails that you sent across all of your contacts.
Mail Statuses & Folders #
Mail can be in several different statuses and can be found in the following folders.
Draft #
When a mail piece is being edited by you it is in Draft status and folder.
Once you’re done editing, but before you can send any mail, you will need to create a Preview version of that mail, to give you a chance to verify what you are sending.
Scheduled #
A mail that has been scheduled to be processed in the future ends up in this folder. This happens when a mail is part of a campaign, or when you clicked Send on a mail thereby putting it in the outbox to be ready for pickup.
A scheduled mail that has not started being processed can still be canceled.
Processing #
The processing folder contains mail that has been picked up for fulfillment. There are several steps to fulfillment including purchasing, pickup, printing, and stuffing.
Mail that is processing can no longer be canceled.
Sent/Mailed #
Once the mail has been processed, it is picked up by the USPS and mailed in earnest.
All mail that has been sent to the USPS for delivery ends up in this folder.
Returned #
If your subscription plan gives you this ability, any mail from the Sent folder that has been returned will be visible here.
Rerouted #
If your subscription plan gives you this ability, any mail from the Sent folder that has been forwarded to another address will be visible here.
CRM Contact Direct Mail #
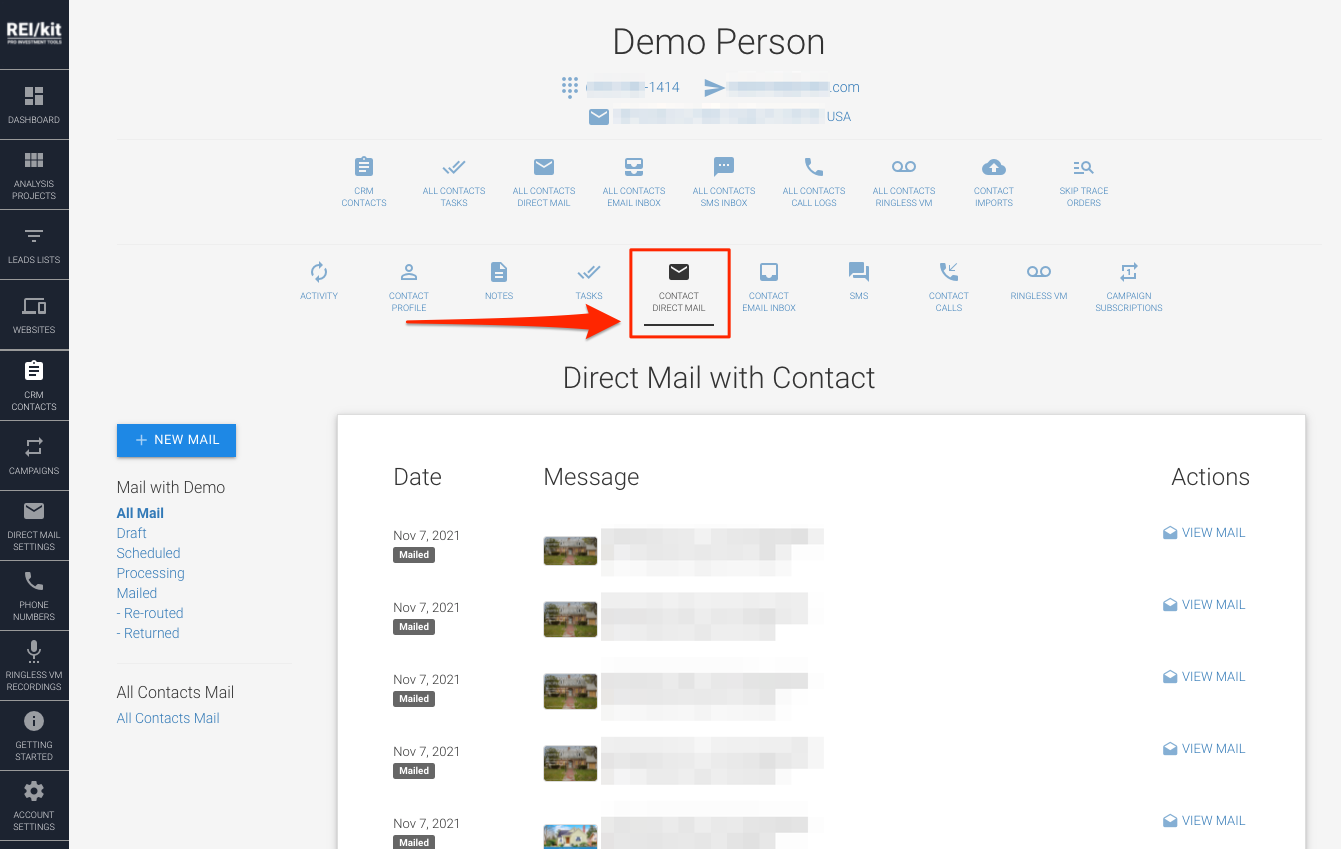
You can only send mail in the context of a particular contact. To send a mail to a particular contact, open that contact’s profile and click on the “CONTACT DIRECT MAIL” icon in the contact actions menu.
Mail List #
In the Contact’s Direct Mail section you can see the list of all mails that you have sent to that contact. Clicking on “VIEW MAIL” will take you to the details of the mail including the rendered pdf version of it, as well as any additional tracking information if your subscription plan provides it.
Creating a Mail #
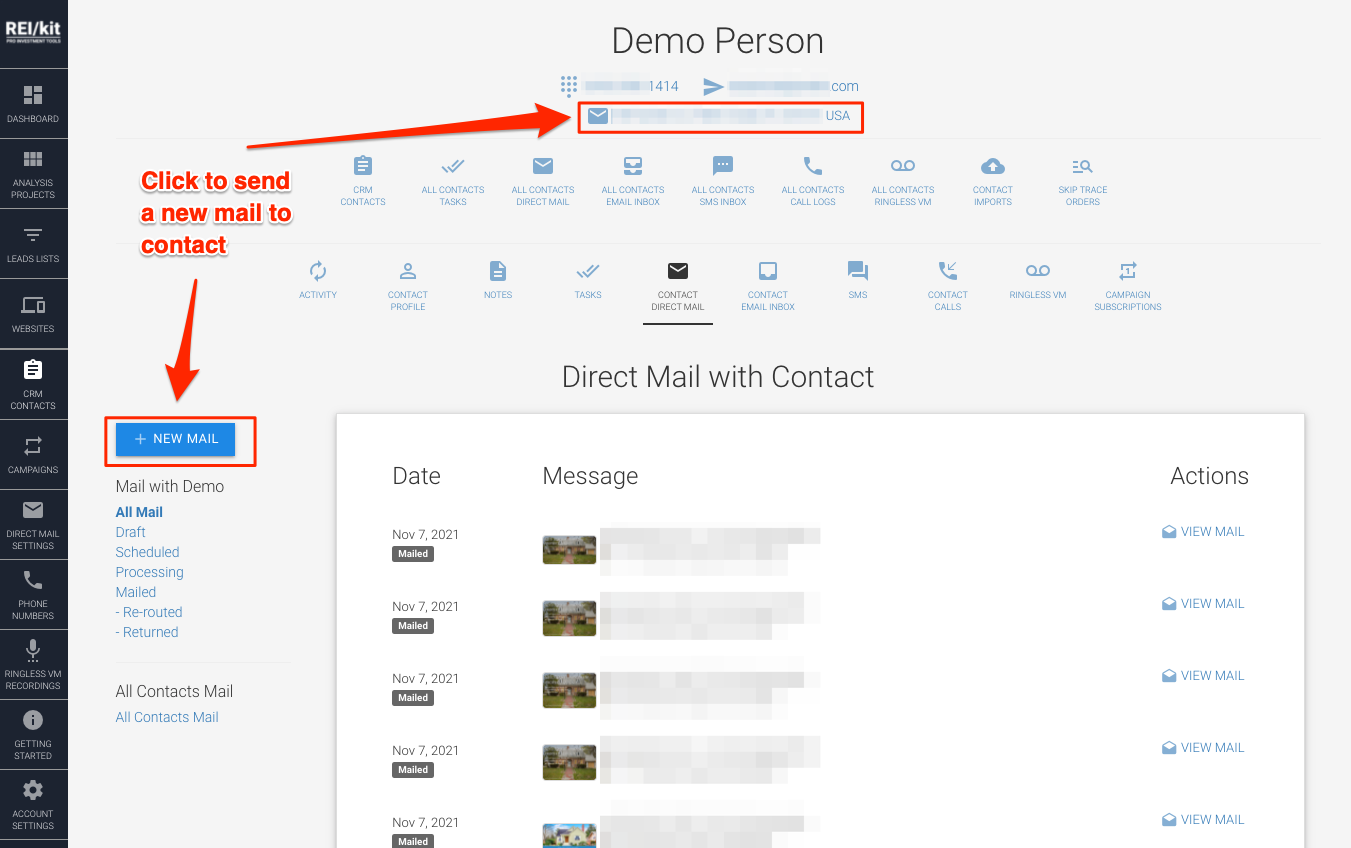
To start creating a new mail to your contact, you can either click on the “NEW MAIL” button, or click on the contact’s address in the header.
Select Mail Type #
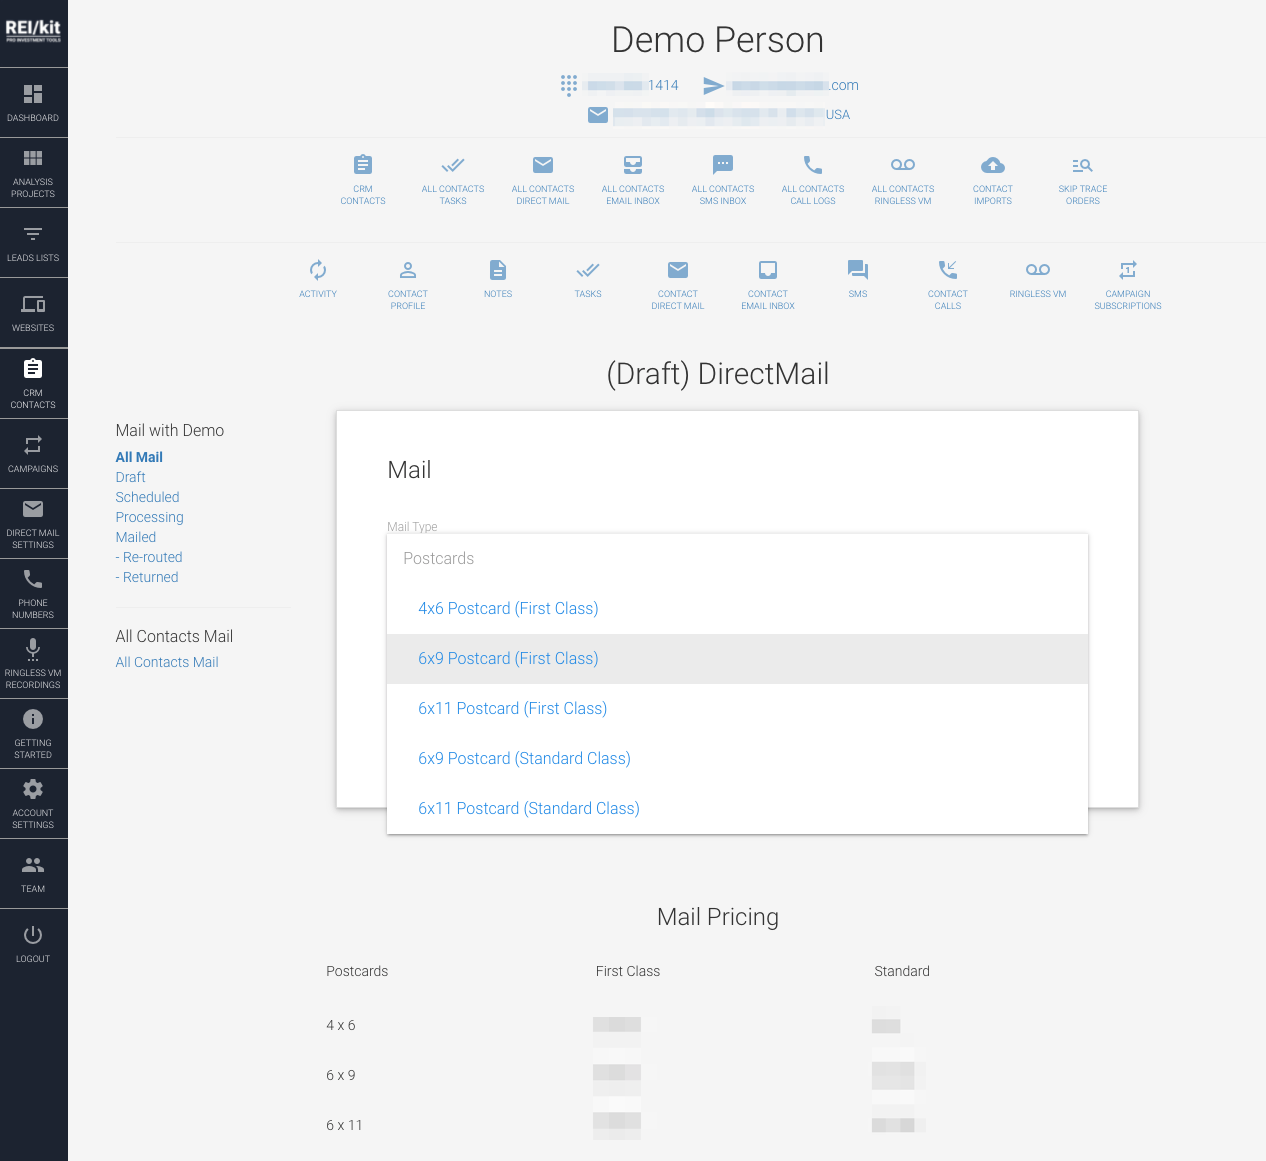
First you will choose what kind of mail piece to send, and at what speed. You can see the pricing for the different types of mail below, based on your current subscription plan.
Edit The Mail Piece #
Next you will edit the mail piece.
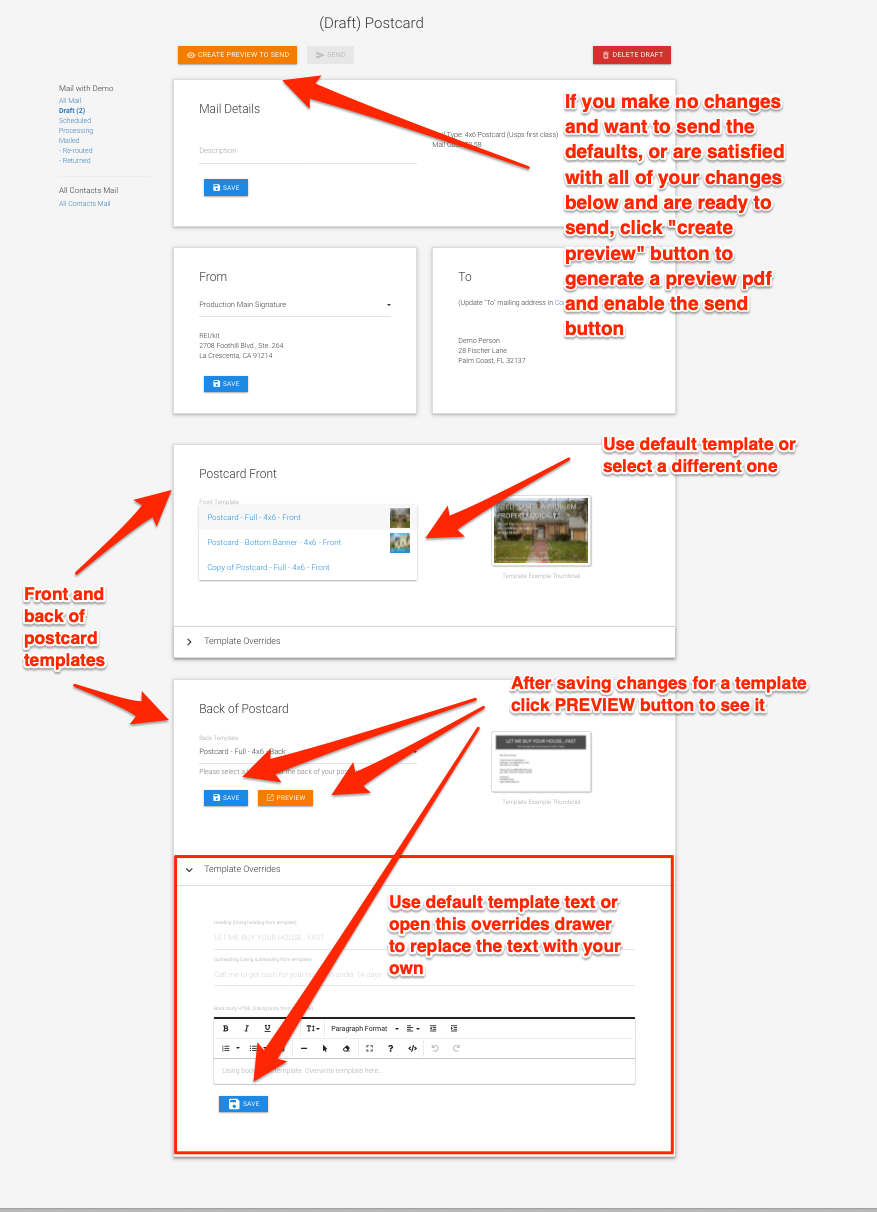
A postcard is made up of 2 templates, one for the front, and one for the back.
When you first create a postcard, the default templates for that size of postcard will be selected from the available postcard templates, either your custom ones, or if you don’t have any custom ones, then from the REI/kit template gallery.
You can now choose to either:
- Leave the defaults, not edit the content of the postcard, and send it as-is using the default templates and their text or;
- You can select a different template to use for this postcard or;
- You can open the “TEMPLATE OVERRIDES” drawer which will allow you to use the current template, but override one of the fields that are part of that template.
If you choose to edit any side of the postcard, you should click the “PREVIEW” button for that side to see how your changes are taking effect.
Create Preview of the Mail #
Once you are done with editing the postcard draft, you will need to create a preview of the mail itself to enable the “SEND” button.
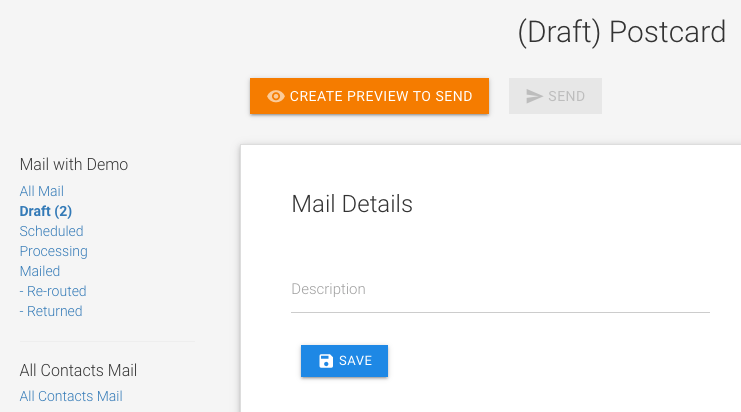
Generating this preview may take up to 30 seconds so be patient. Once the preview is generated, the “CREATE PREVIEW TO SEND” button will change to a “PREVIEW” button which you can use to check the final rendering of the postcard.
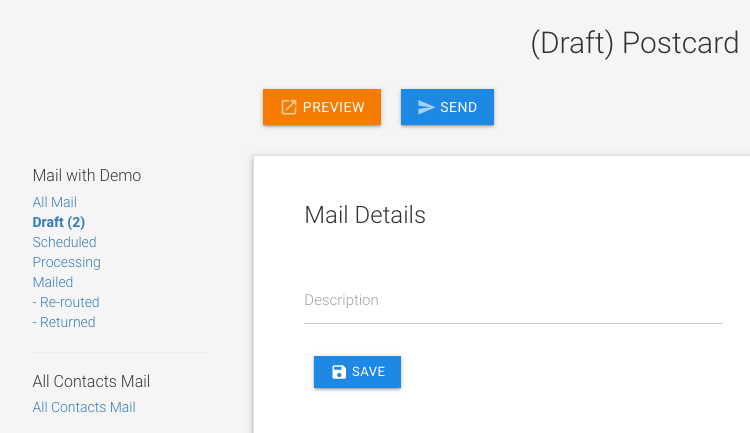
Any additional changes to the mail will disable the SEND and PREVIEW buttons and will require you to regenerate the preview.
Send Mail #
When the preview generation is complete, the “SEND” button will become enabled for you to put the mail in the scheduled outbox.
Mail Tracking #
Once your mail piece has been processed, then we will get several new pieces of data. We will be given when it was mailed and an estimate of delivery.
![]()
If your subscription plan includes this information, you will also get the following mail tracking events.
In Transit: Your mail was accepted by the USPS in the origin facility.
In Local Area: Your mail was moved by the USPS to the local mailing facility.
Processed for Delivery: Your mail is being delivered.
Re-routed: Your mail could not be delivered because of a change of address and is being forwarded.
Return to Sender: Your mail is being returned because of address errors.
Billing #
Direct mail gets billed once per day when it gets picked up from the scheduled outbox for that day, but only on days that you have mail scheduled to go out.
The total cost of your direct mail for the day will be the mail pieces cost of all of the mail pieces scheduled to go out, plus a credit card transaction fee of $0.30 + 3% of the transaction value.
For example if you have 60 pieces scheduled to be picked up today at a mail cost of $35.04, you will also be charged a credit card processing fee of $0.30 + ($35.04 X 3%) or $1.35 for a total fee of $35.04 + $1.35 or $36.39.
If your credit card charge does not go through, your mail will not go out on that day. Your credit card will be attempted the next day, and if that does not go through your mailing for that day will fail. If your mailings continuously fail, your account may be suspended.


