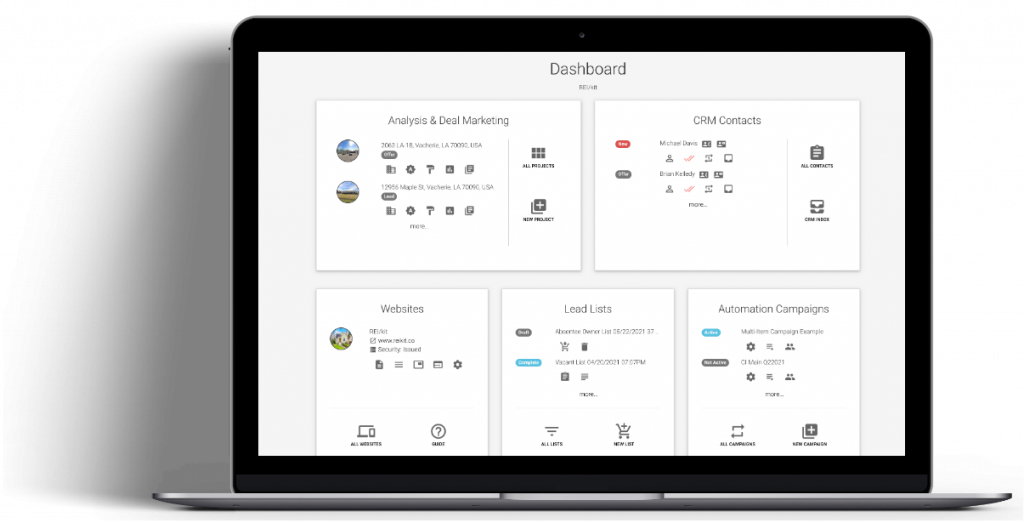
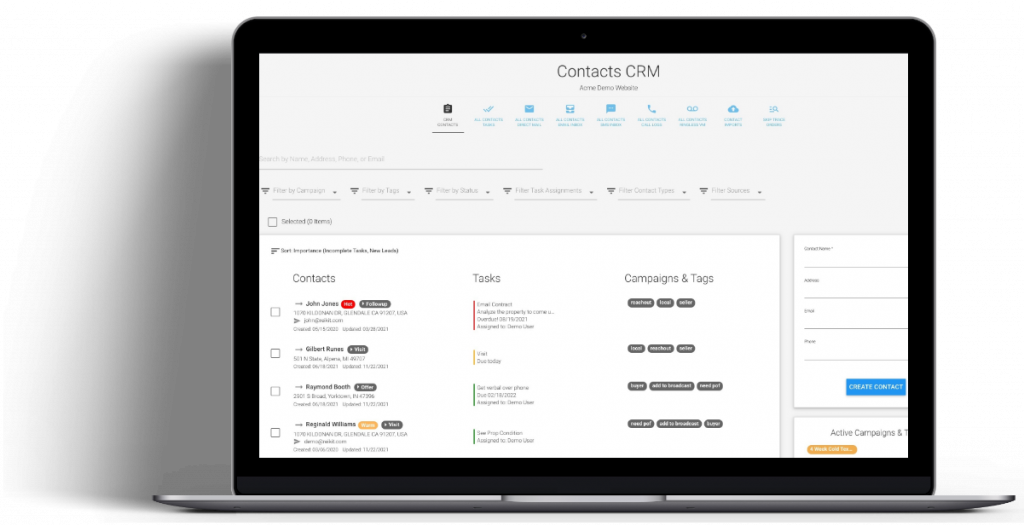
This integration guide shows you how to use a Google form, and connect the form fields in Zapier so as to be able to create contact records inside the REI/kit CRM.
Use Cases #
You could use such an integration for a number of use cases.
If you have an offshore team of cold callers, you can have them collect information into this form without giving them access to your CRM.
If you had an army of bird dogs out there looking for properties for you, you could give them access to such a form to collect information on the properties without giving them full access to your CRM.
Another use case is if you wanted to use such a form as an intake form for interested homeowners who want to sell their houses. You could post a link to such a form on your own REI/kit Lead Generating Website.
Prerequisites #
REI/kit CRM Enabled Premium Account #
REI/kit is a real estate wholesaling software that includes a CRM for managing contacts, and outbound marketing campaigns.
You can learn more about the REI/kit CRM here.
Generate REI/kit Zapier API Key #
Once you have your REI/kit account, you need to generate a Zapier API key in your settings. You can do so in your REI/kit profile settings.
Zapier Account #
Zapier is software that helps different software applications talk to each other. You can get a Zapier account here.
Google Account #
You will need a free Google account in order to be able to create Google forms. If you do not yet have a Google account, you can create one here.
Let’s get started.
Step 1: Create Google Form #
Create Form #
The first step is to create the Google form that you will use to collect contact information that will be imported into the CRM.
You can use the following example form as a template to copy, and choose the fields that you want to collect, depending on your own data collection use case.
https://forms.gle/LRLFMqxa4JTcUboj7
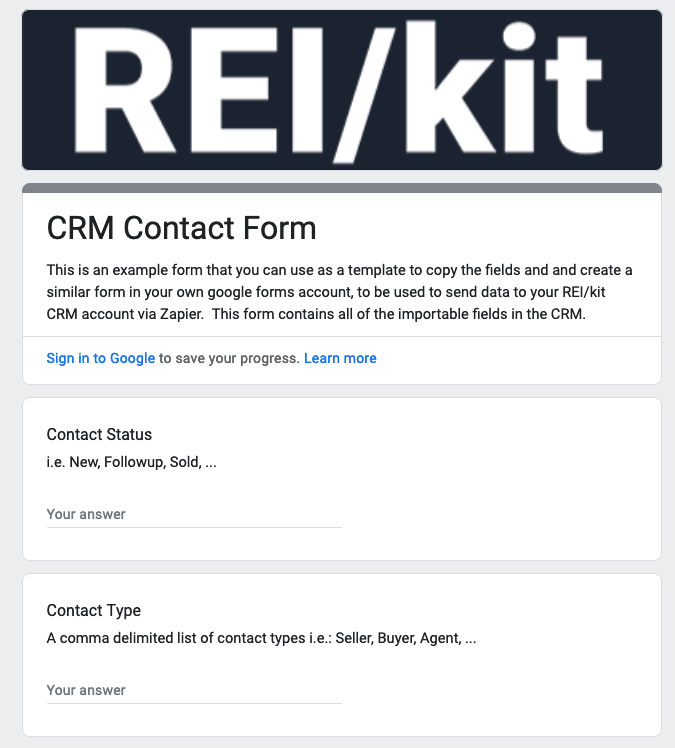
This example form contains all of the fields that you can map to in the REI/kit CRM, and as you build your own form, you can pick and choose which fields that you want to collect information for.
Test Form Responses #
Once you have created your form, test it by sending some test responses into it.
Make your test responses as complete as possible, at least in terms of the basic details of the contact, email, phone number, and even some property details. You will use this test data later in the set up of the integration.
Step 2: Create a Zap in Zapier #
Accept the REI/kit Zapier Integration Invite #
If you have not previously accepted the invitation to use our Zapier Integration, you can do so here:
https://zapier.com/developer/public-invite/175636/760a9fece5a8b39c492f377c72d8659c/
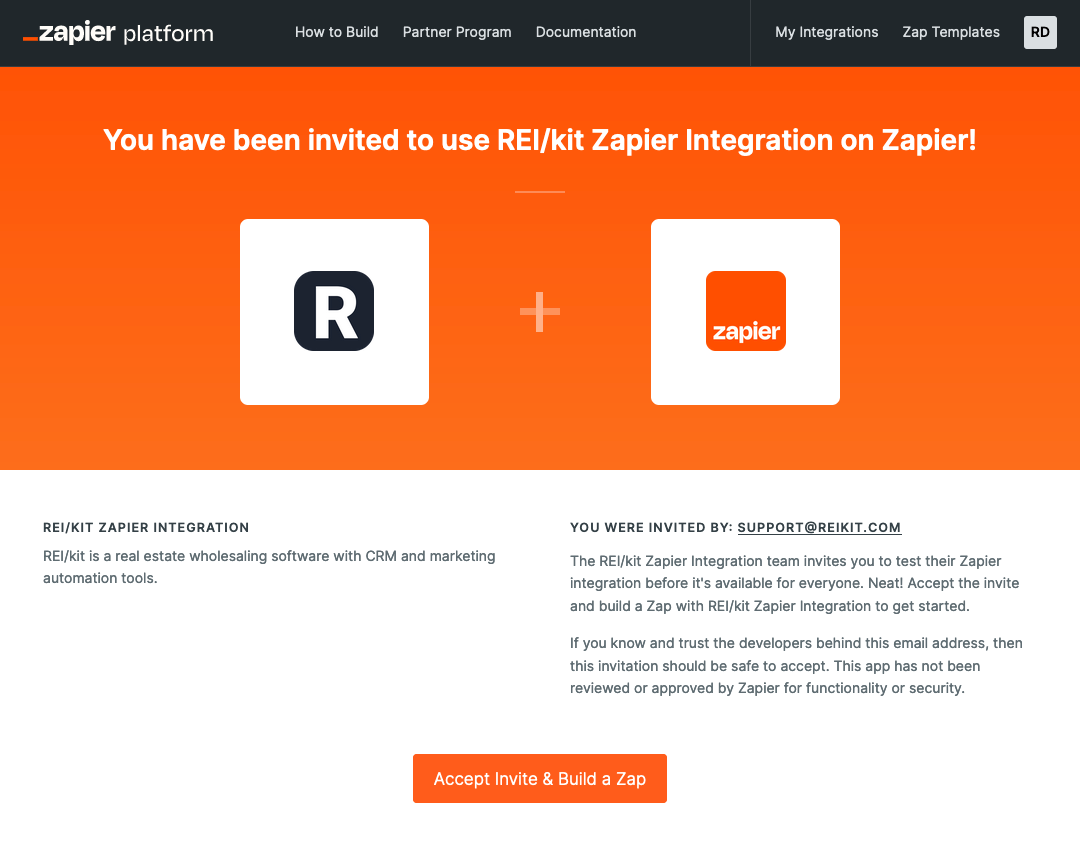
Once you have accepted the invitation, you can then begin creating your Zap.
Create Zap #
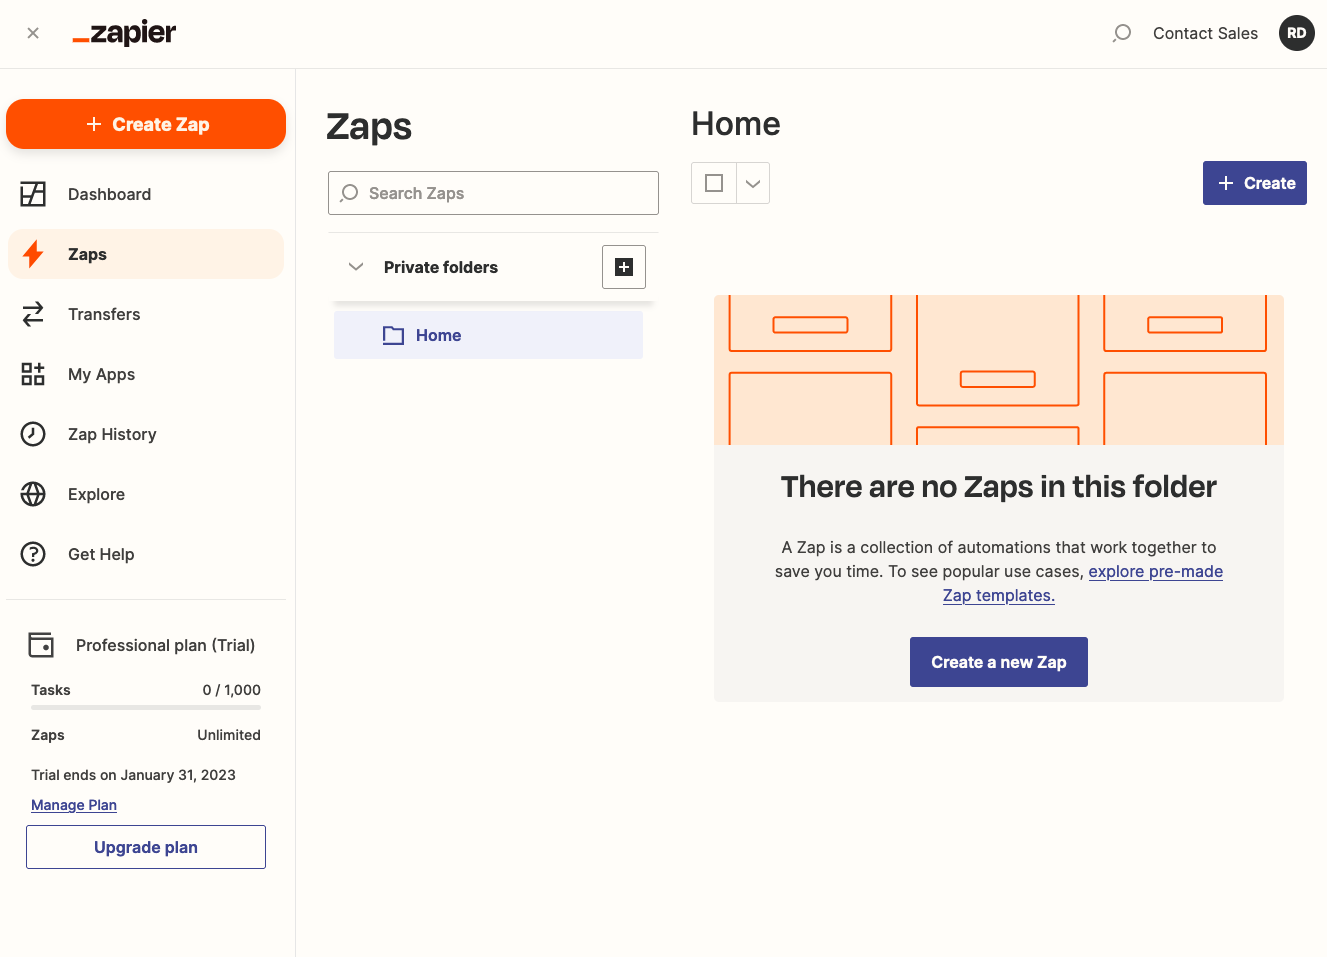
From the main Zaps section, click on the “+ Create Zap” button to begin.
Configure the Trigger #
The first step in creating a Zap requires you to configure a Trigger.
A Trigger is an event that starts the Zap. In this instance, the Trigger will be when someone enters a response to your Google form.
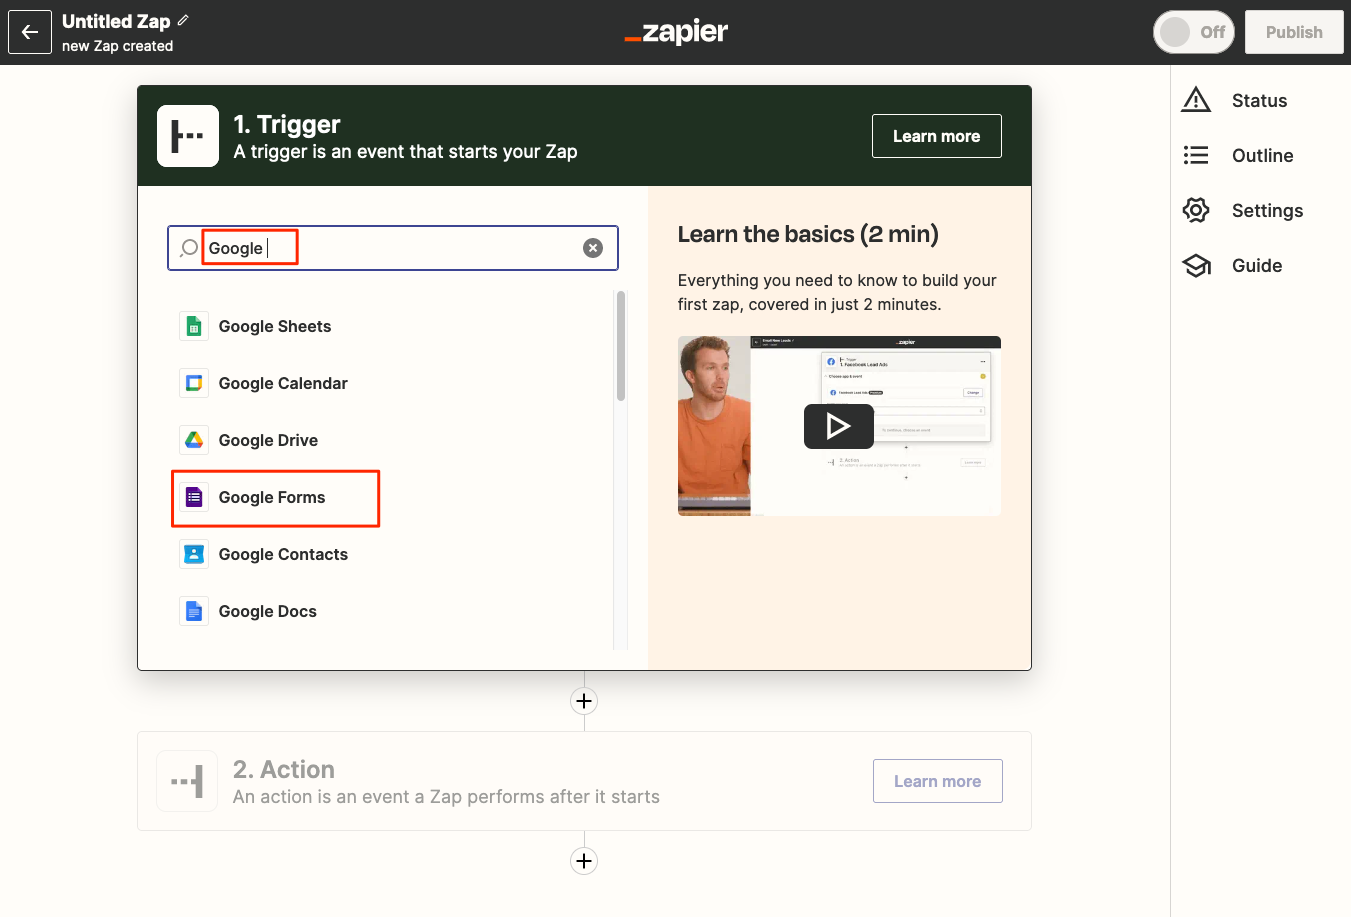
Type in “Google” into the Trigger search box, and select “Google Forms” when the search result comes back.
Choose Event #
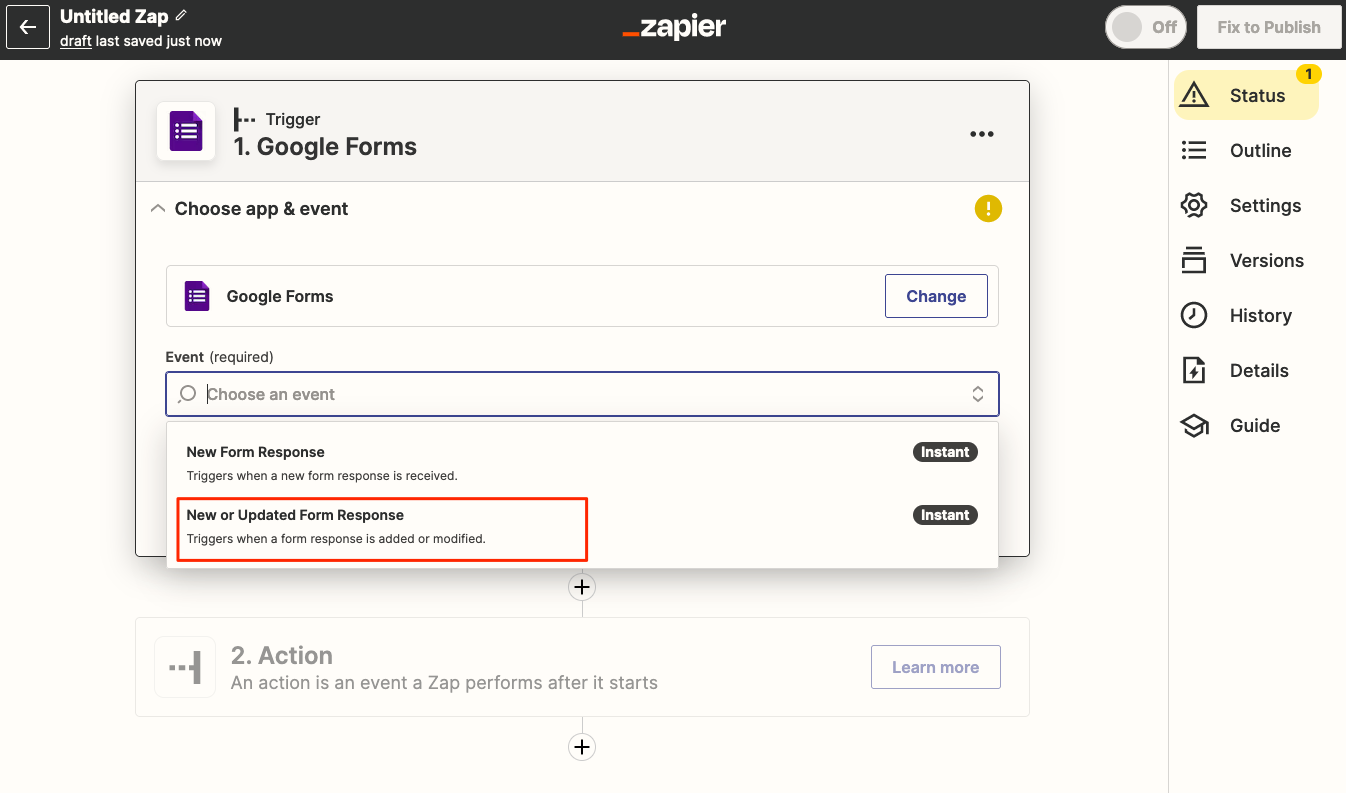
Click into the “Choose an Event” field, and select “New or Updated Form Response”.
Then click the “Continue” button.
Choose Account #
In the “Choose Account” section you will need to log into the Google account in which you have created your Google Forms. If you have multiple Google accounts, make sure that you sign into the one that created the Google Form.
Click on the “Sign in” button to begin connecting the account.
Doing so will pop up the Google Sign in dialog box.
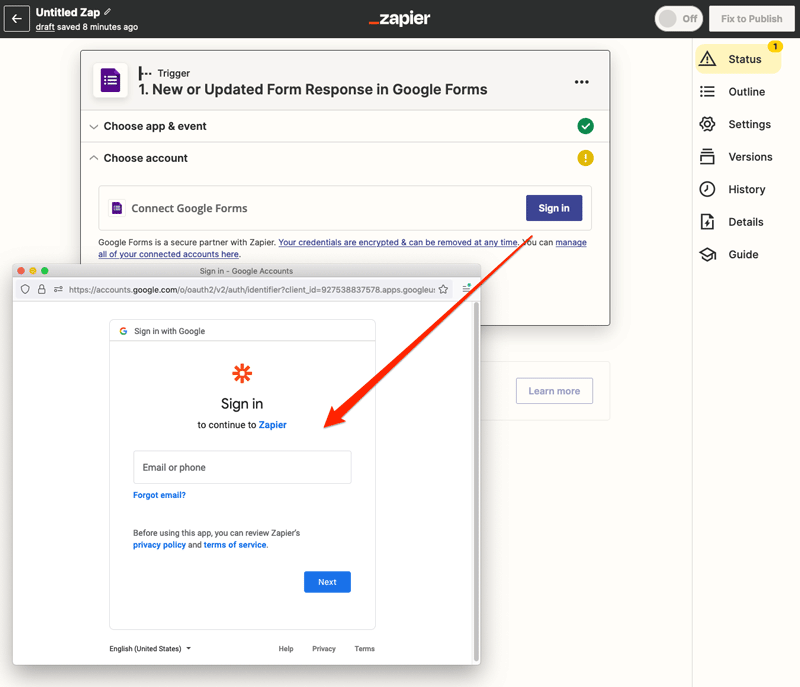
In this form you will enter the Google email address, and later password for the Google account associated with your Google Form.
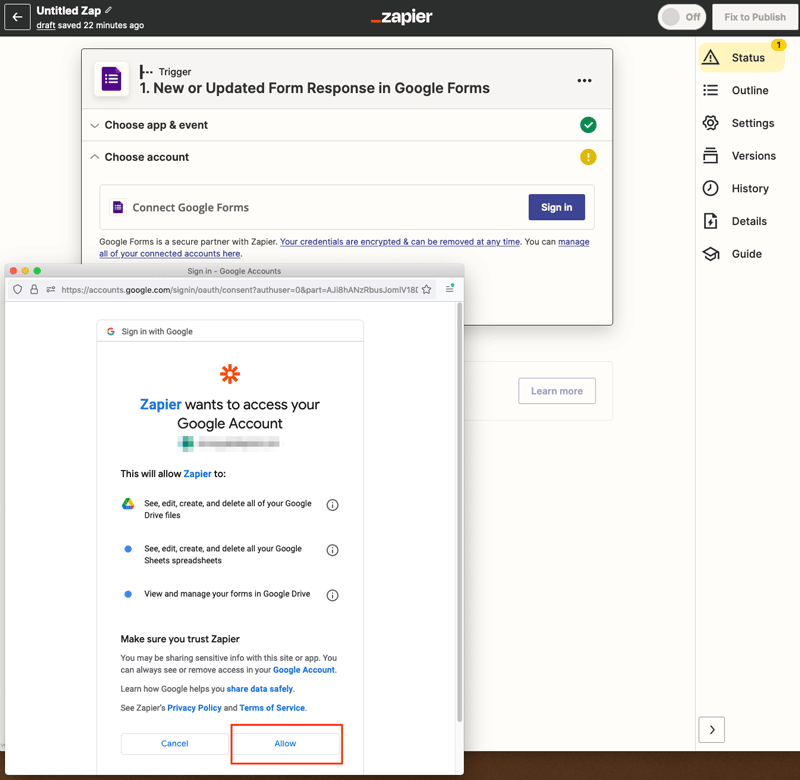
Make sure that you “Allow” Zapier to have access to your Google Account.
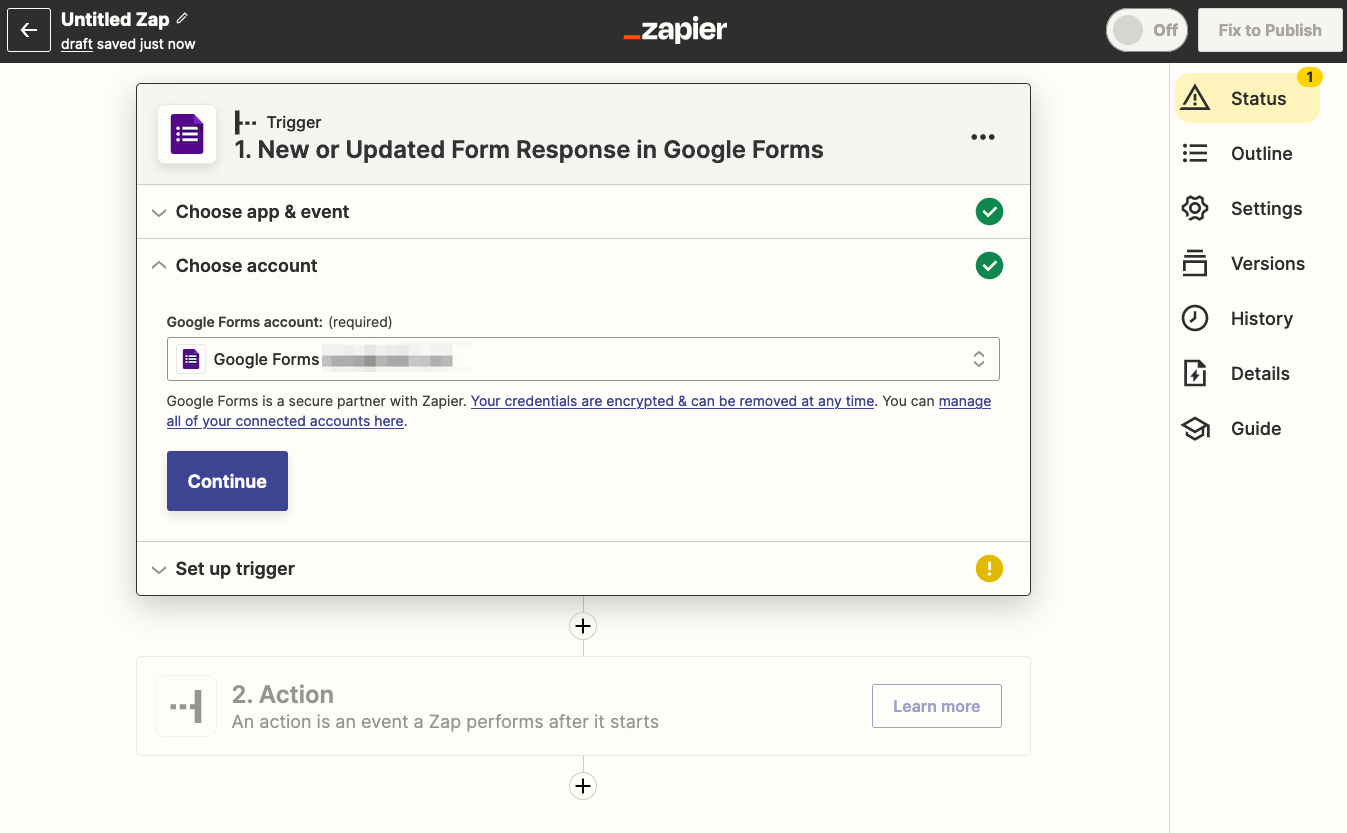
If all goes well, then the Google Forms account associated with your Google email account will show up in the field, and you can click the “Continue” button to set up the trigger.
Set Up Trigger #
Click into the field labeled “Form” to select the Google Form that you previously created. In our example, when we created the form in Google we named it CRM Contact Form, but you will be prompted to select the form name that you named your form.
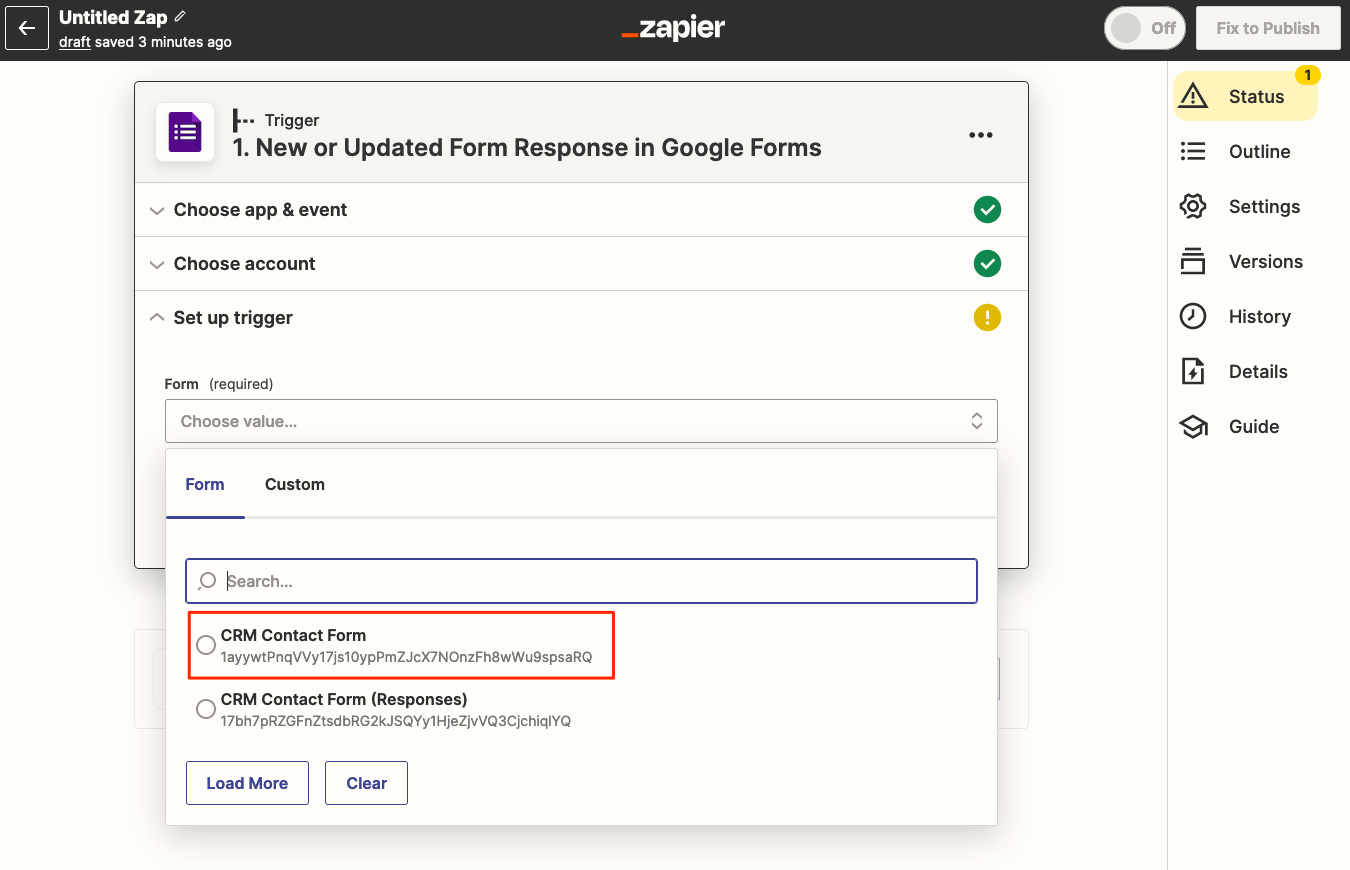
Leave the “Trigger Question” field blank, so that the Trigger will fire whenever any field from your form is updated.
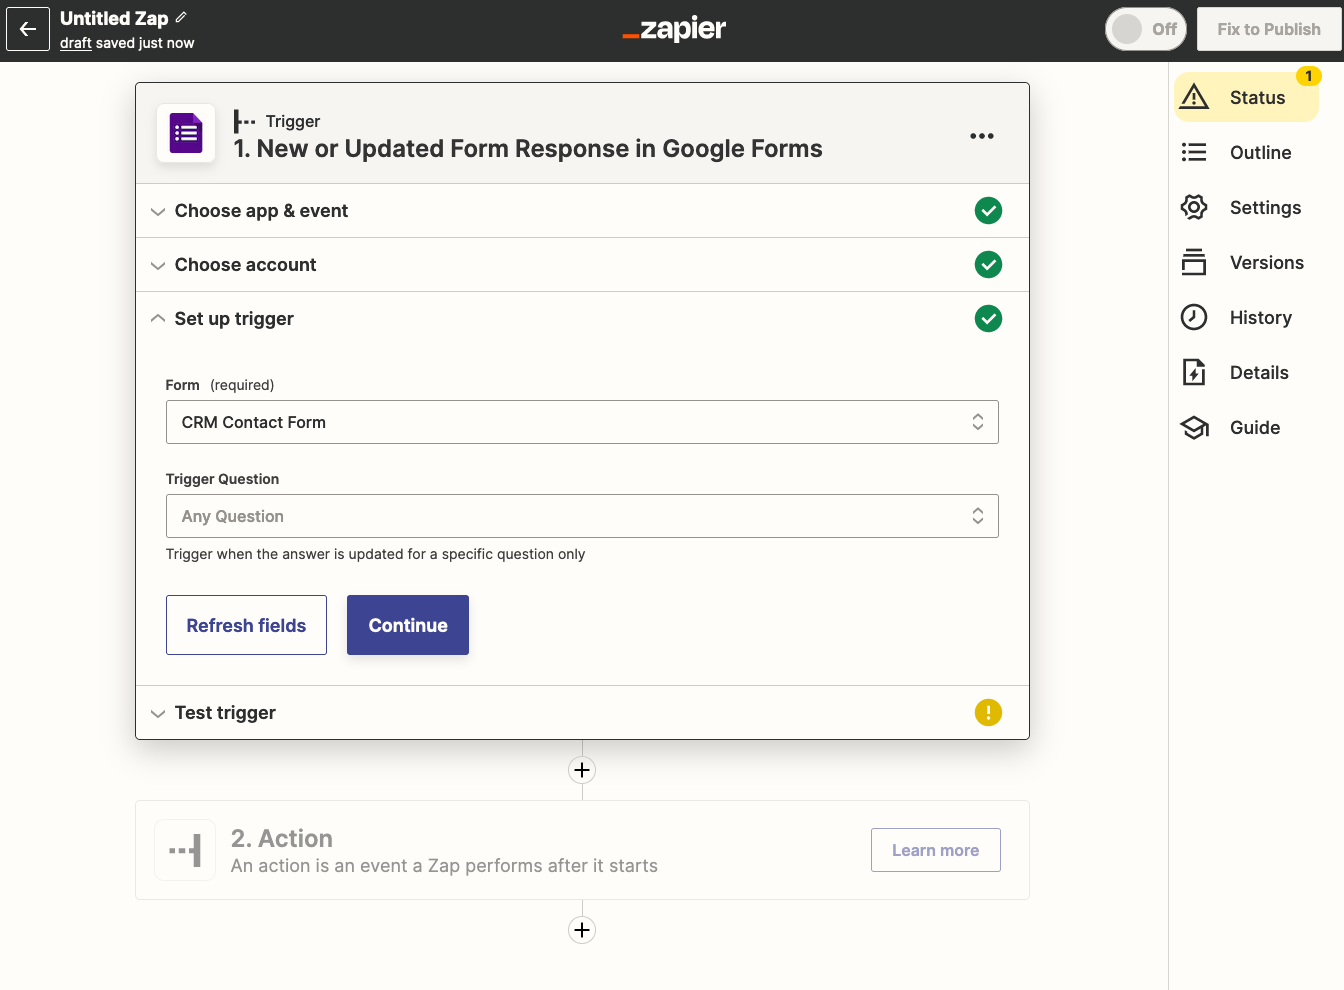
Click the “Continue” button.
This will move you to the next section which is to Test your trigger.
Test Trigger #
In this step you will test that your form sends data to Zapier.
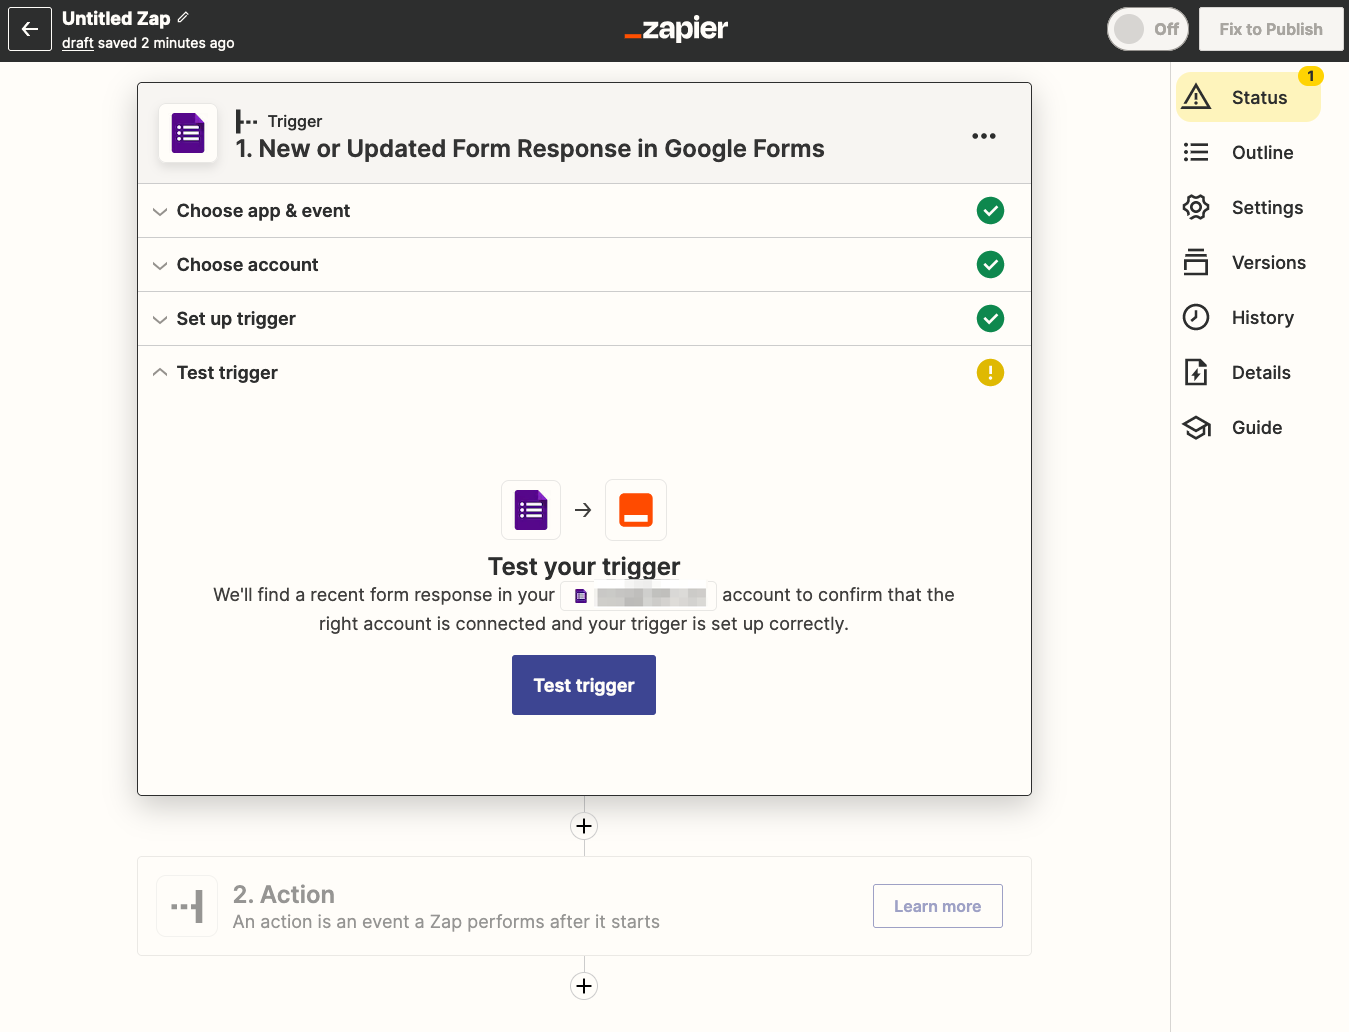
When you click the “Test trigger” button, Zapier will look into your Google Form, and will try to pull out a previous response. If you have not sent any test data into your google form, then it will not find any data here, so you should go back and add some responses into your Google Form.
If you have some test responses, then Zapier will show something as follows containing a previous response:
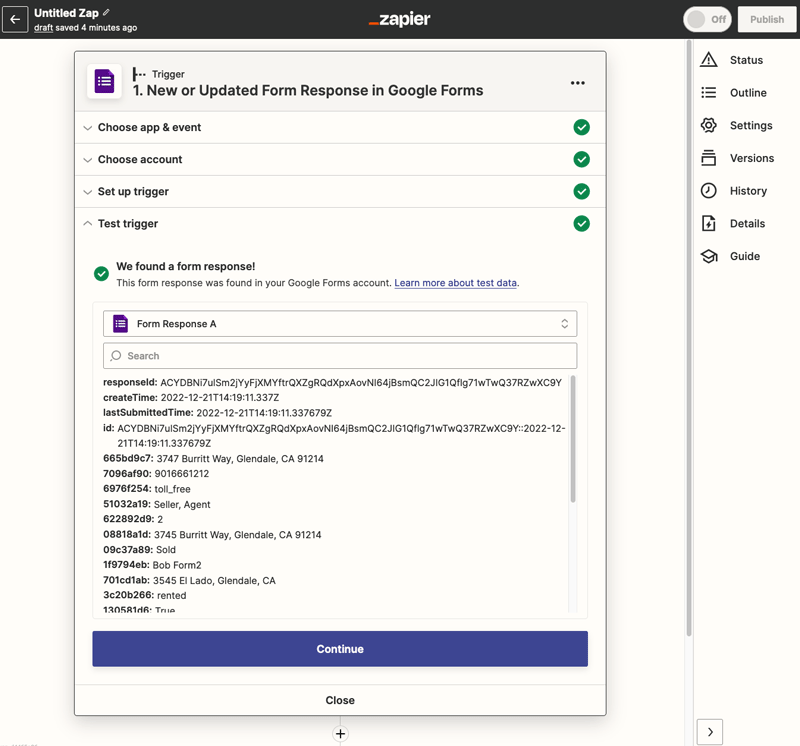
Click the “Continue” button to continue with the next step, configuring a Zapier Action.
Configure an Action #
An action is what you tell Zapier to perform after it has been triggered. In the case of this Zap, the action will be to send the Google Form response into the REI/kit CRM.
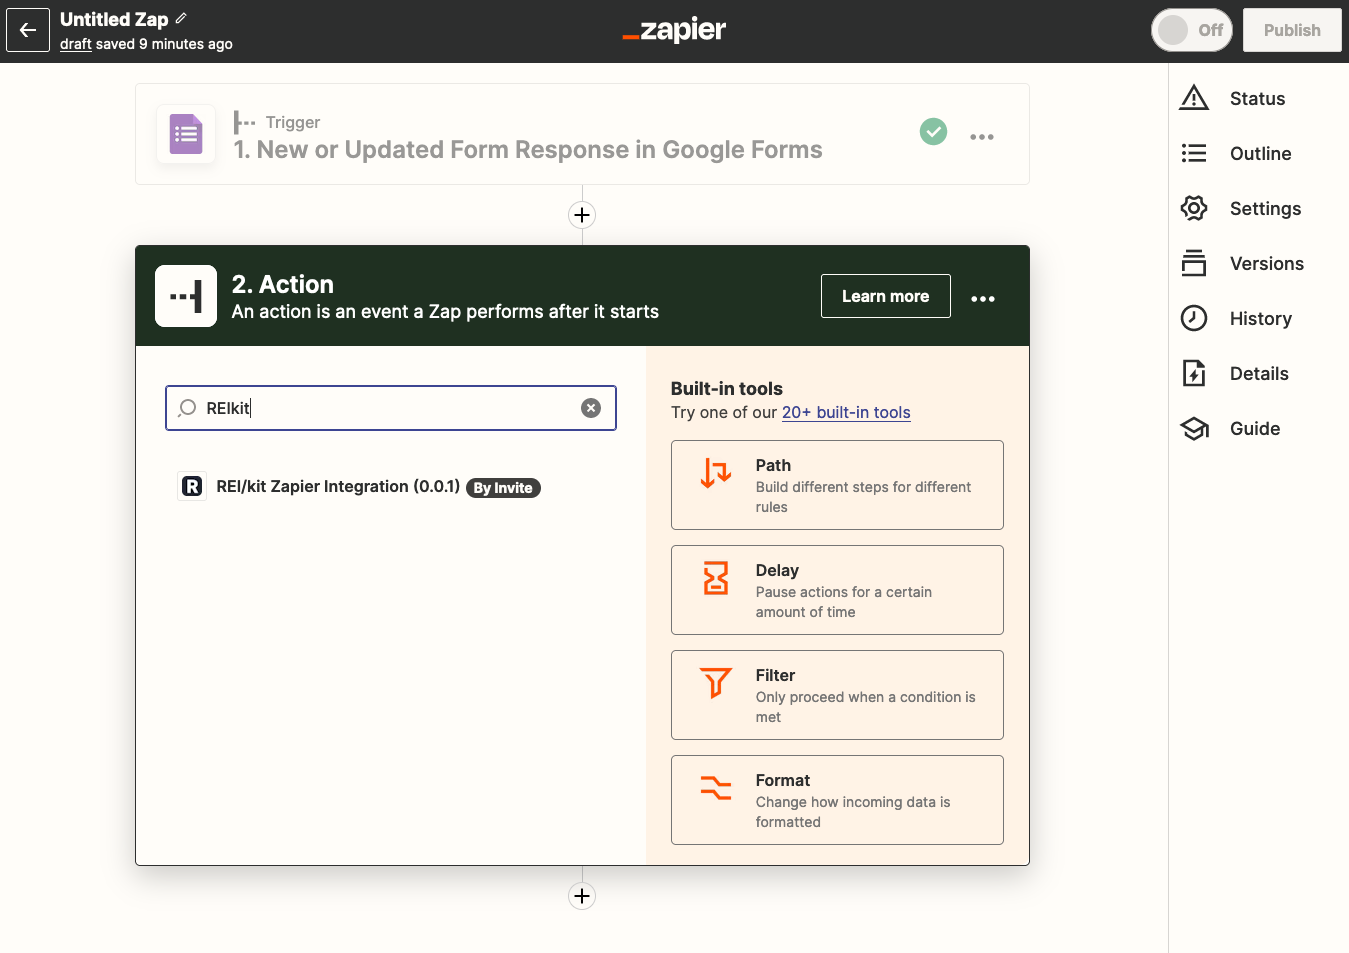
In the Action Search box enter REIkit to find the REI/kit Zapier Integration app (it may be labeled “By Invite”). If you don’t see it when you search for it, make sure to go back and Accept the REI/kit Zapier Integration invite.
Select the “REI/kit Zapier Integration” app that comes back. If multiple versions come back, it is a safe bet to select the highest version available.
Choose App Event #
Click into the “Event” search box, and choose the “Import Contact” event listed.
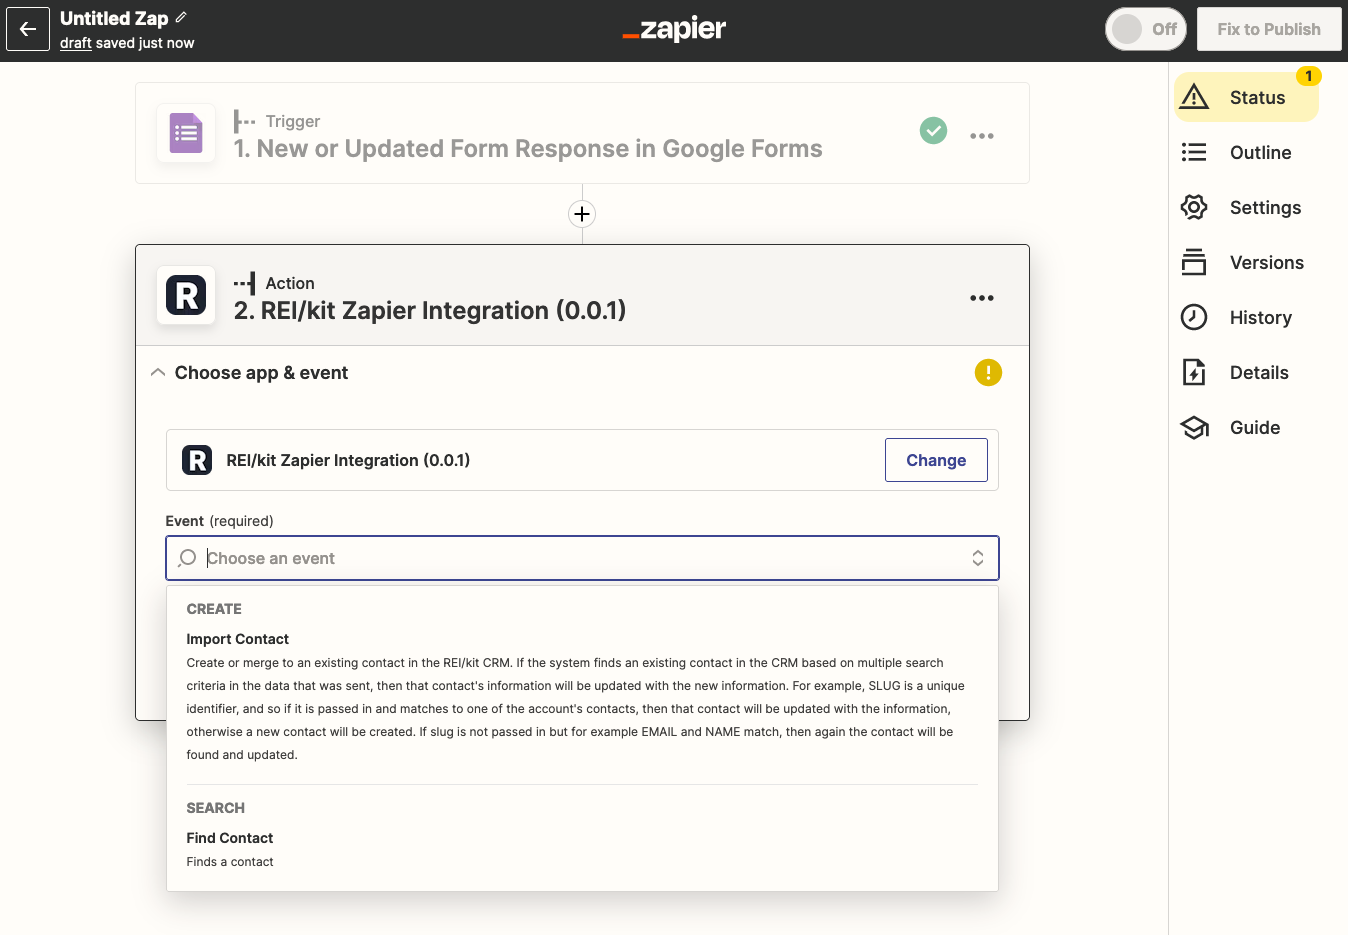
Then click the “Continue” button to go to the next step.
Choose Account #
In this step you will sign into your REI/kit account, using your REI/kit Zapier API key. You can find this key in your REI/kit Profile Settings.
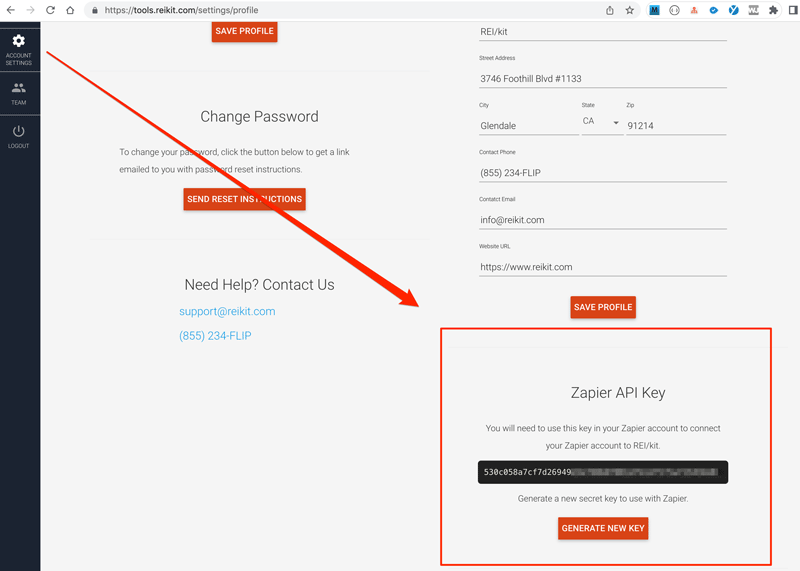
If you have not yet created one, click the “GENERATE NEW KEY” button, to create one.
If you have already created one, do not click the “GENERATE NEW KEY” button as it will invalidate any of your previous Zapier connections.
Once you have created your key, you can then copy it from REI/kit, and paste it into the Zapier authentication window.
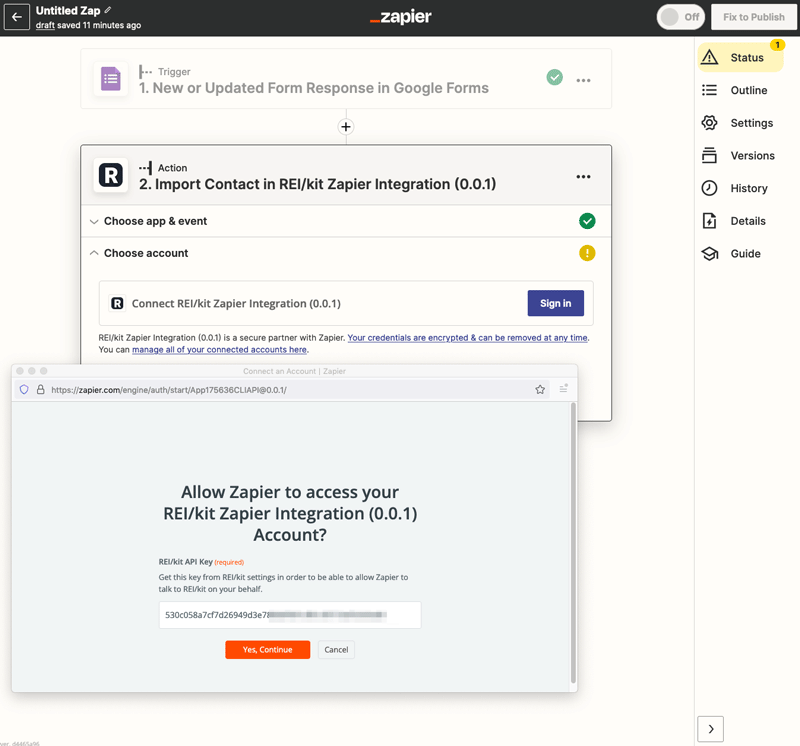
Click “Yes, Continue” on the authentication window to save your API key in Zapier.
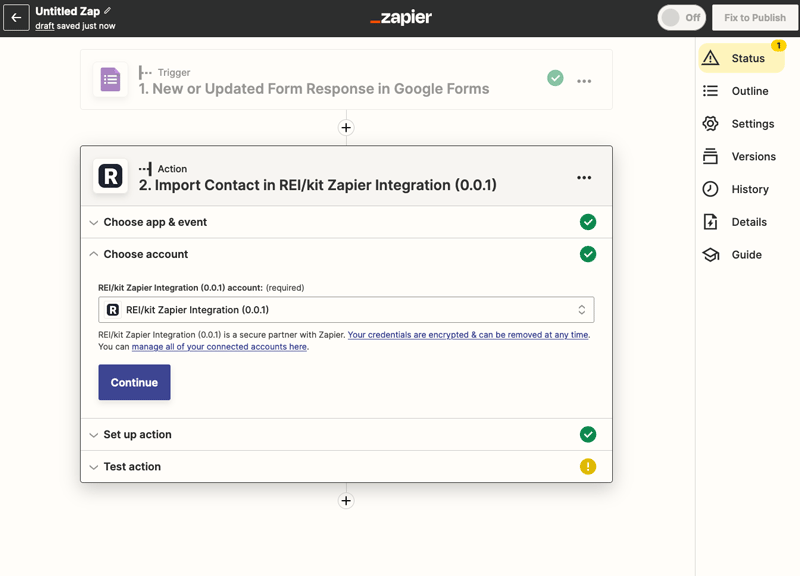
Then click the blue “Continue” button to begin setting up your action step.
Set Up Action #
This is where you will do the most important work, mapping your Google Form fields to the REI/kit CRM fields.
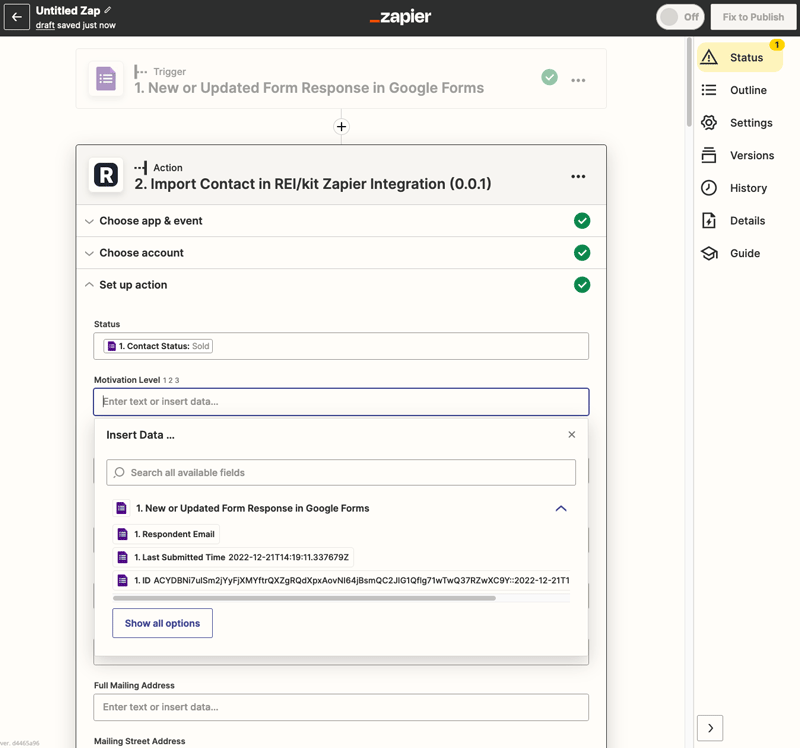
You do so by clicking into each field, then searching for the name of the corresponding Google Form field in the “Search all available fields” search box.
Tips #
One common mistake is to try to perform a search in the “Enter text or insert data” field identifying the CRM field, instead of clicking into the “Search all available fields” search box before starting the search.
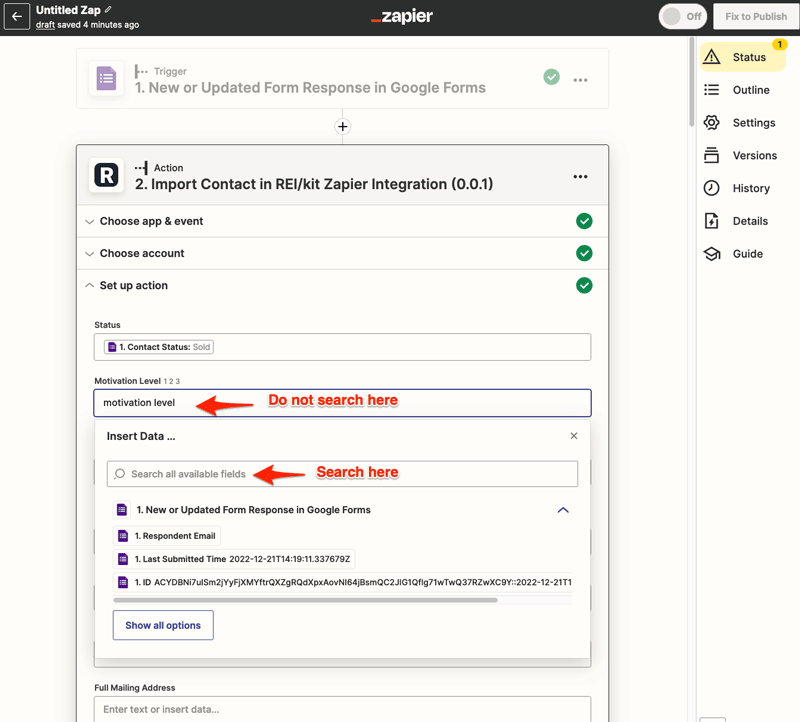
There are quite a few fields to map here, so take your time.
The last field called “Slug” is the record identifier in the REI/kit database. If you do not know it, (and in most cases you won’t) then leave it blank.
Once you have finished mapping your fields, click on the blue “Continue” button to test your action.
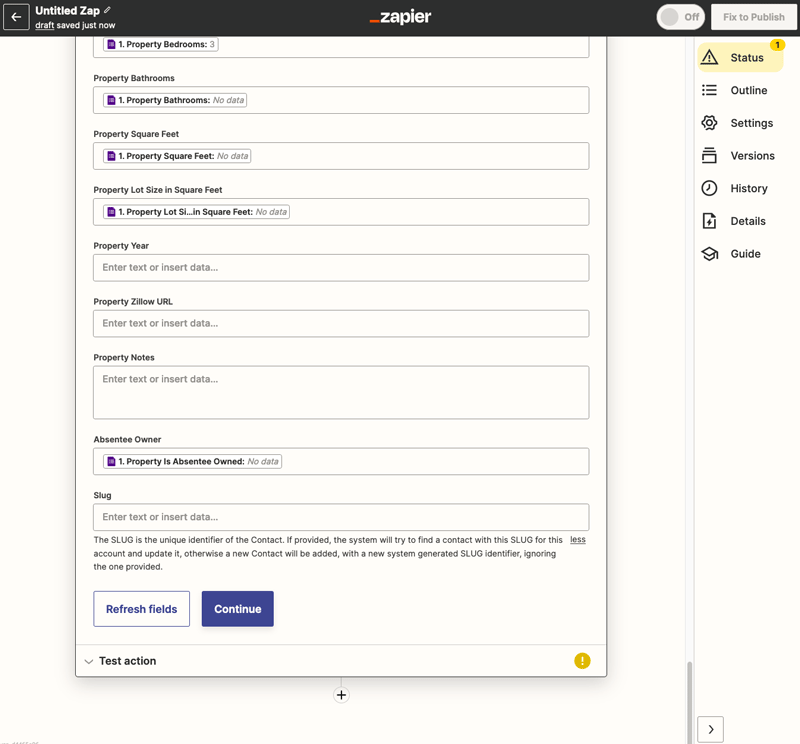
If you have not mapped all of the fields you will get a summary screen that shows you the fields that you have mapped, and the fields that you haven’t. (You don’t have to map every field)
Test Action #
If you are satisfied with your mapping, you can click on the “Test action” button to test your action.
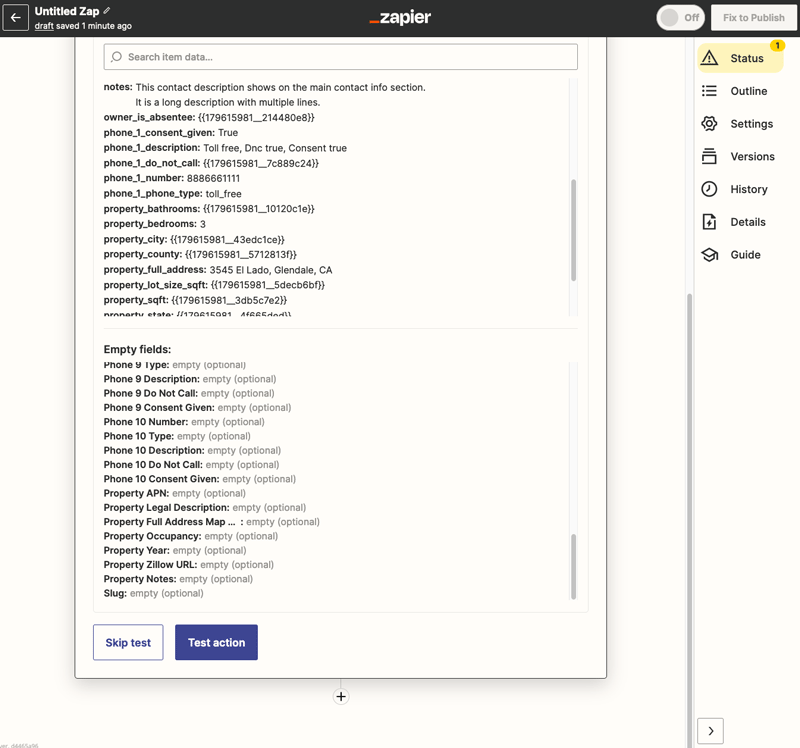
Clicking on the “Test action” button will send the test Google form response to REI/kit using the mapping that you just configured.
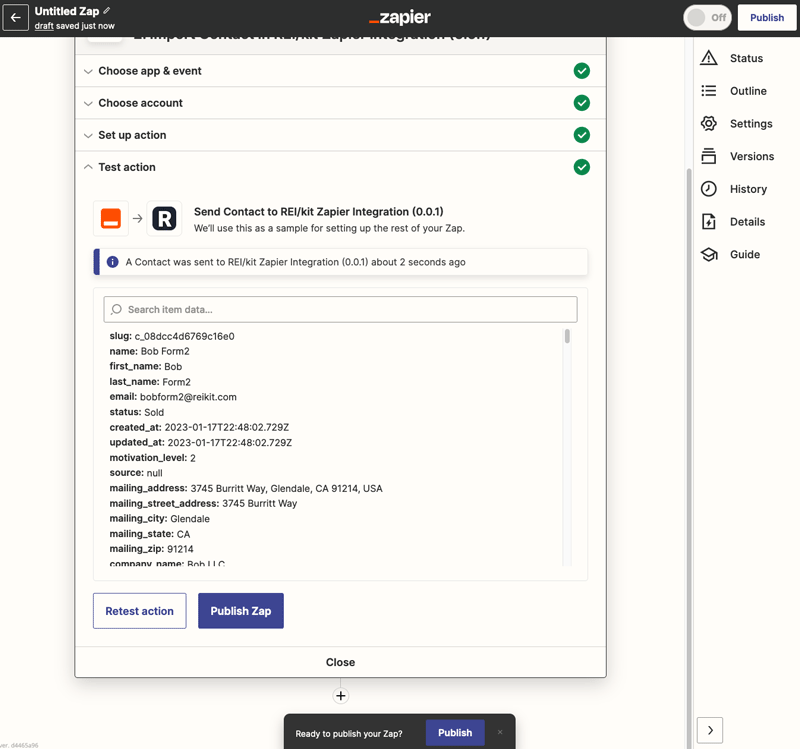
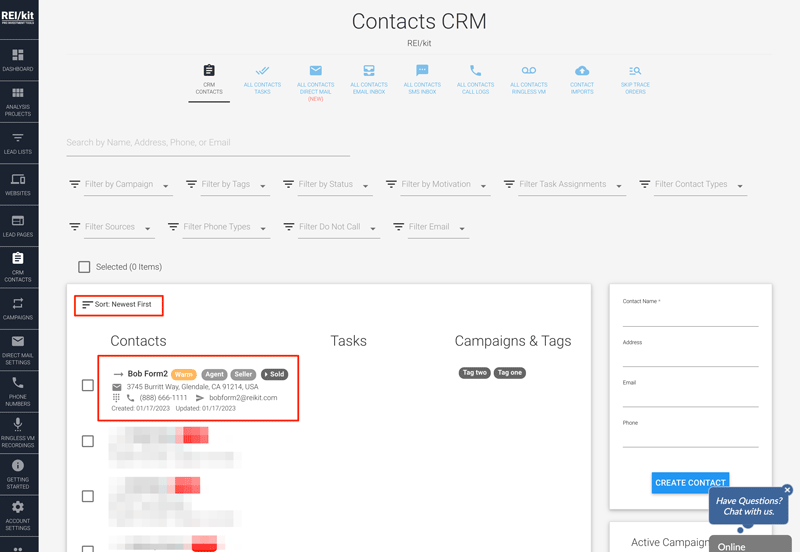
You can then check for your contact in your REI/kit CRM
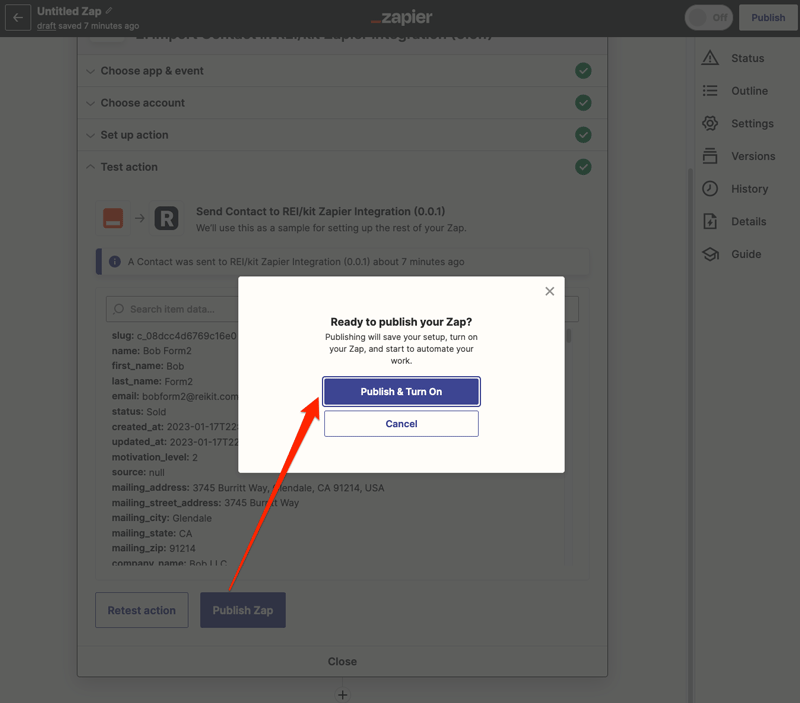
If you are happy with the results, you can then click the “Publish Zap” button in the Zapier interface, to complete the Zap.
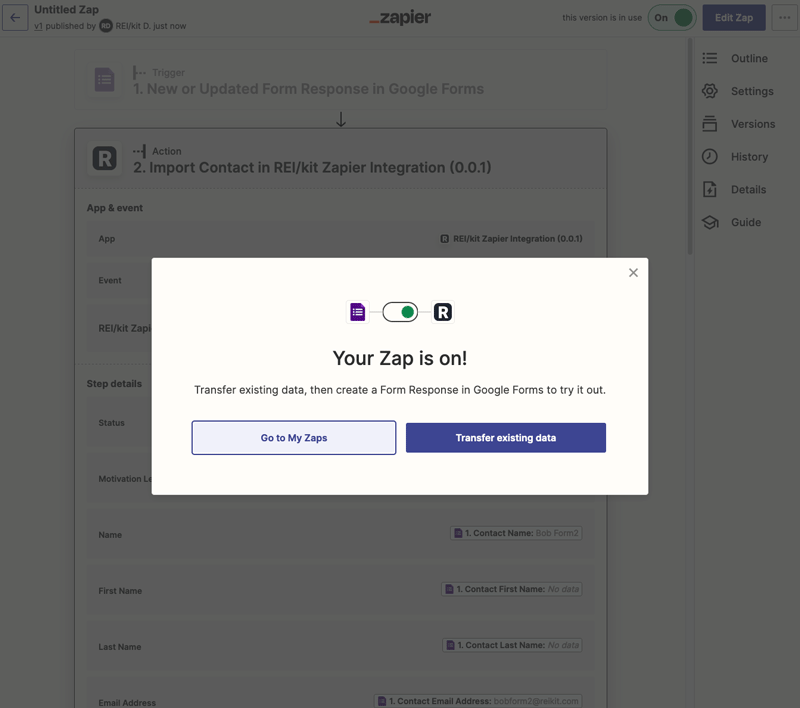
If you have real Google Form responses that you would like to transfer into the REI/kit CRM at this time, then you can click the “Transfer existing data” button.
In most cases you will not have existing data to transfer, and you can just click the “Go to My Zaps” button.
Now you have an Untitled Zap representing your Google forms to REI/kit integration.
You should rename this Zap to something meaningful such as “Google Form to REI/kit CRM Contact”.
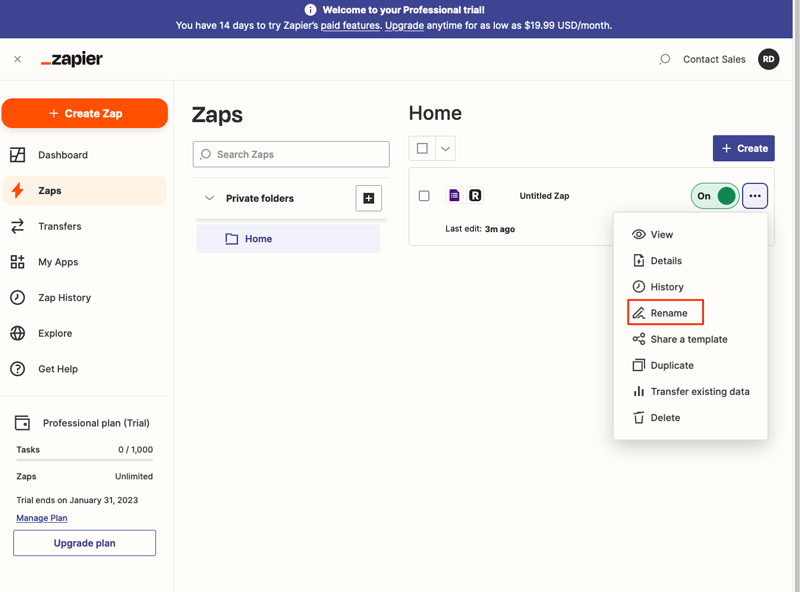
This completes your Zap setup. Any new Google Form responses should now flow into the REI/kit CRM.


