In order to create ringless voicemail campaigns, or send individual ringless voicemails to your contacts, you will first need to record and upload a voicemail recording to your Ringless Voicemail recordings library found in the left hand navigation.
This guide shows you how you can record your voicemails in Microsoft Windows 10 or on a Mac computer, and then upload those recordings into your library.
![]()
What is the RVM Recordings library? #
The RVM Recordings library is the place where you will need to upload all of your voicemail recordings, before you can use them in your campaigns, or send them to individual contacts.
What to Record? #
Your campaign objectives will determine the content of your voicemail recordings, however very much as with text messages, you should keep it simple, and keep them short.
You have only a few seconds to capture someone’s attention, so don’t create a long recording with your life story. Every sentence needs to be meaningful.
Treat these recordings as though you were leaving a regular voicemail message.
You just want to let them know your name, what problem you solve, and what action you want them to perform.
Don’t go over 30 seconds, and the action should always to be to get them to call you back.
Example Recordings #
Here are 3 sample recordings that you might create for a 3 voicemail absentee owner RVM campaign sent to leads in a particular zip code.
38104 Absentee Owners VM 1
Hey there, I’m sorry I wasn’t able to reach you. I was driving the neighborhood by your property and I’m calling you to see if you know of anyone who might be willing to sell their property to me. I’m looking to buy soon. Please call me back at 901-555-1212. I’d really appreciate it. Cheers! Kuba.
38104 Absentee Owners VM 2
Hey there. It’s Kuba. looks like I missed you again. I’m looking at buying a property in midtown very soon, are you interested in selling? Please give me a call back at 901-555-1212 either way.
38104 Absentee Owners VM 3
I was really hoping to catch you this time. It’s Kuba again. I wanted to ask you if you know anyone else looking to sell their property in midtown? Please give me a call back at 901-555-1212.
How to Create an Audio Recording Using Microsoft Windows 10 #
You can record audio in Windows 10 using the built in Voice Recorder app.
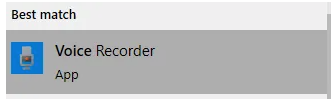
Open Voice Recorder App #
To open the app, press the Windows key on your keyboard and search for “Voice Recorder”. Click on voice recorder when it appears in the search results.
Create Audio Recording #
When the app opens, you can click on the microphone button to begin recording your voicemail.
When you are finished click the “Stop” button and a new window will appear showing any audio recordings you have available.
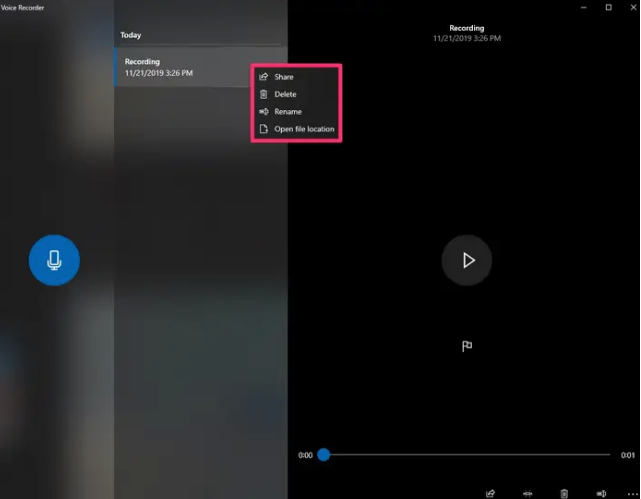
Click on the recording and play button to review it.
If you do like it, then click on the Rename menu item to name the file. Then click on the “Open file location” menu item to show you where the file is saved.
You will need to know this file location in order to upload the file into your RVM Recordings library in the next step.
How to Create an Audio Recording on a Mac #
Creating an audio recording on a Mac computer is very easy. You can use the QuickTime Player application for this.
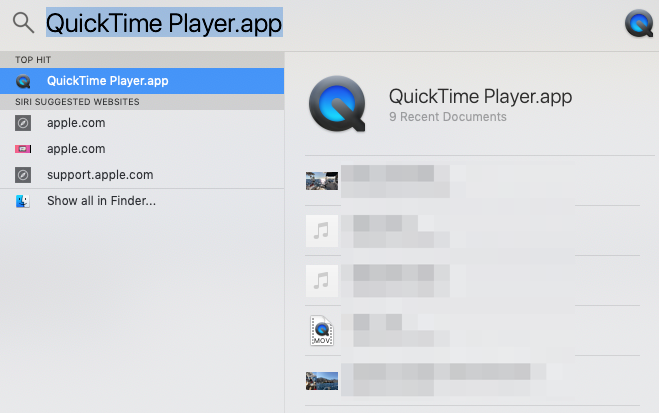
Open QuickTime Player #
Using either Spotlight Search or your application folder, open up the QuickTime Player app.
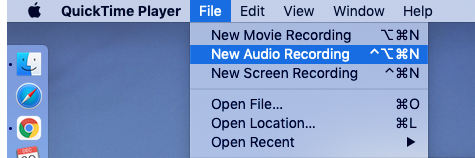
Create Audio Recording #
From the main File menu, select “New Audio Recording”.
This will open up the audio recording tool.
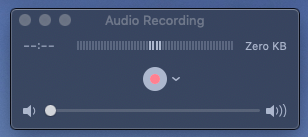
You can click the red record button to begin recording your voicemail.
Once you are done recording, you will click on the record button again to stop the recording.
At this point you now have an Untitled recording to listen to.
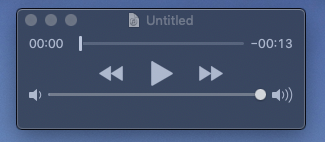
Click on the play button to review it.
If you don’t like it, you can close it and start the process over again by clicking the file menu and selecting a new audio recording.
If you do like it, then click on the File menu to save your file.

How to Upload Your Recordings into the RVM Recordings Library #
Once you have your recordings saved, you will need to upload them into your RVM Recordings library.
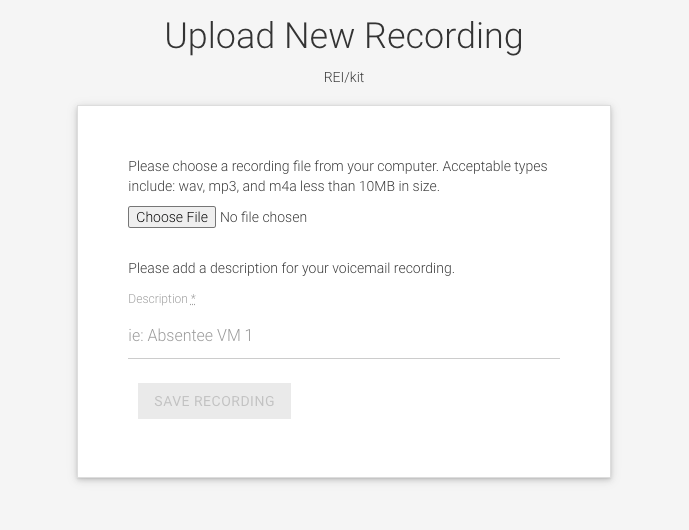
First, in your library, click on the “UPLOAD NEW RECORDING” button.
![]()
This will take you to the new upload screen.
Upload File #
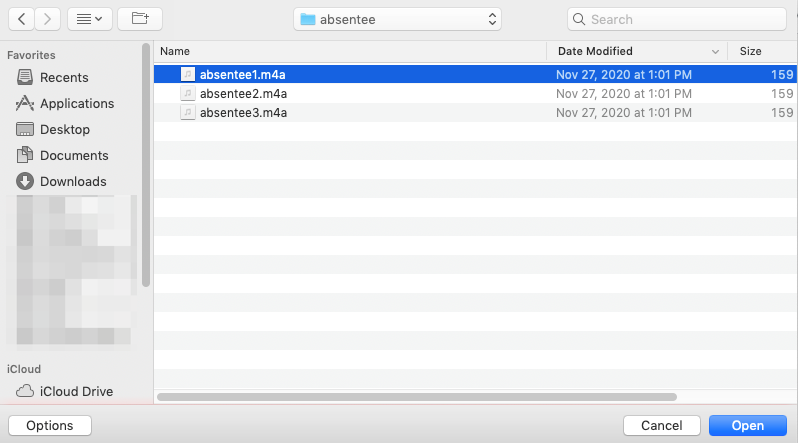
Here you will click on the “Choose File” button to select the recording file on your filesystem that you created earlier.
This will open up the file dialog box. You will need to browse to the file on your system to select it.
Once you select the right file, a green progress bar will appear below the “Choose File” button to show you the progress of the file being uploaded into the system.
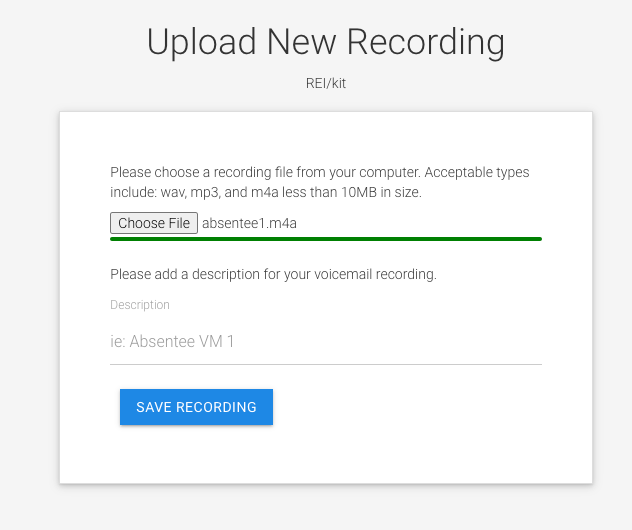
Once the upload has completed, the “SAVE RECORDING” button will activate, turning from gray to blue.
Please do not leave this page until the file has been uploaded and you have clicked the “SAVE RECORDING” button.
Add Description #
Before clicking the save button, you should add a description to your recording.
The description will be used when you select the recording to send, so you should keep it both short, and descriptive.
For example if you will be sending a campaign of recordings to absentee owners in the 38104 zip code then you would add a description such as:
38104 Absentee VM 1
Save the Recording #
Now that you have uploaded the file and added a description you will need to click the “SAVE RECORDING” button to add it to your recordings library.
Now you can use your voicemail recording in a campaign, or send it individually to a specific contact.