This integration guide shows you how to send new Mojo Dialer Contacts to the REI/kit CRM via a Zapier integration.
Use Cases #
If you have been using Mojo Dialer for cold calling at scale, and want to also use the REI/kit CRM to manage your contacts and outbound marketing to your contacts, then you can use this integration to automatically send your new Mojo dialer Calling List Contacts to the REI/kit CRM.
Without an integration with the CRM, you would periodically need to export those leads from Mojo as a CSV file, and then manually add them to REI/kit using the CRM import tool.
This integration allows you to automatically send your new Contacts from Mojo Dialer into the REI/kit CRM without the need for any manual intervention.
Prerequisites #
REI/kit CRM Enabled Premium Account #
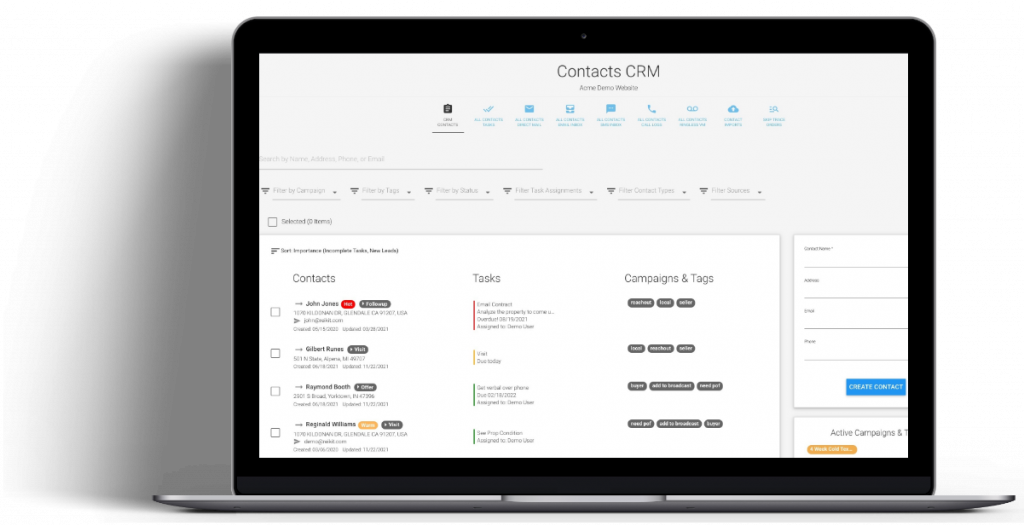
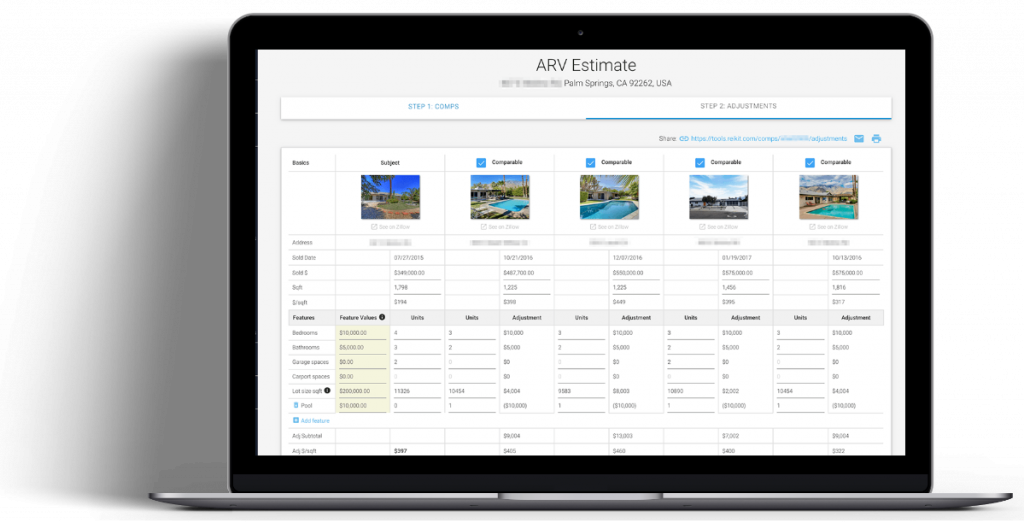
REI/kit is an all-in-one real estate wholesaling software that includes a real estate wholesaling CRM for managing contacts, and outbound marketing campaigns, as well as easy to create SEO optimized websites for your real estate wholesaling business useful for inbound lead generation.
Learn more about all of the features of the REI/kit all-in-one real estate wholesaling software here.
Free Zapier Account #
Zapier is software that helps different software applications talk to each other through integrations called Zaps.
You can get a Zapier account here.
Mojo Dialer Account #
Mojo Dialer is a software that allows you to create cold-calling campaigns at scale.
You will need a Mojo Dialer account in order to be able to use their dialer.
If you do not already have a Mojo Dialer account, you can create one here.
Let’s get started.
Step 1: Accept the REI/kit Zapier Integration Invite #
Request an invitation to use the REI/kit Zapier Integration (if you have not done so already) by clicking on the following link:
https://zapier.com/developer/public-invite/175636/760a9fece5a8b39c492f377c72d8659c/
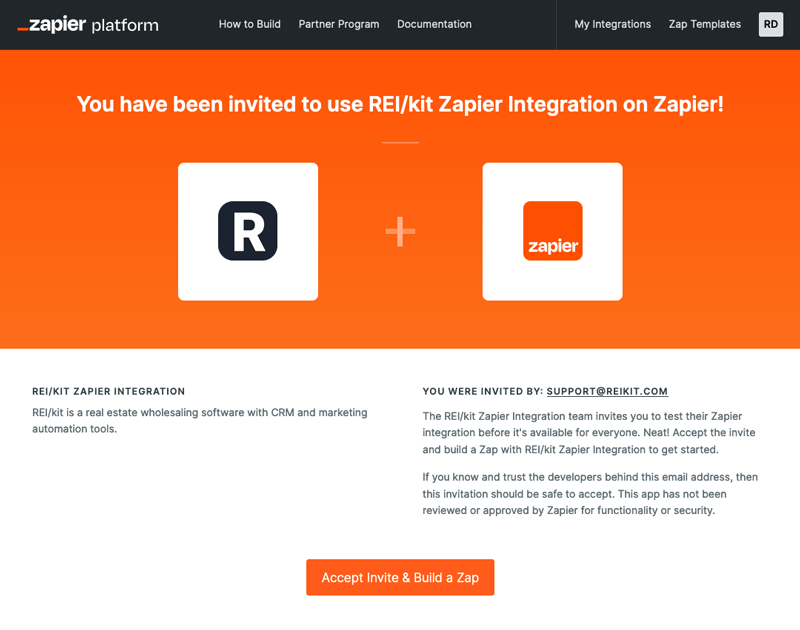
Once you have accepted the invitation, you can then begin creating your Zap.
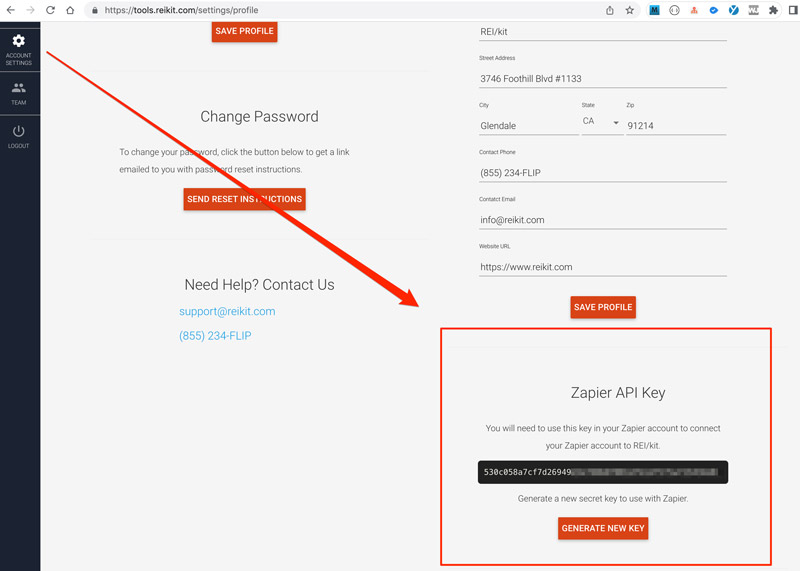
Step 2: Generate REI/kit Zapier API Key #
Once you have your premium REI/kit account, if you have not generated a Zapier API key before, you need to generate it in your REI/kit profile settings.
Step 3: Create the Mojo to REI/kit Zap in Zapier #
You will create your Zap in your Zapier.com dashboard.
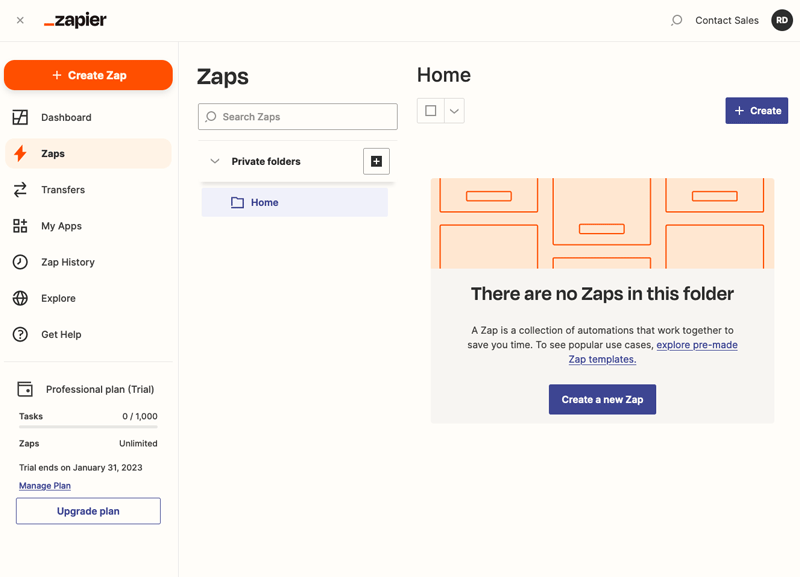
Create Zap #
From the main Zaps section of your Zapier dashboard, click on the “+ Create Zap” button to begin.
Configure the Create Contact Trigger #
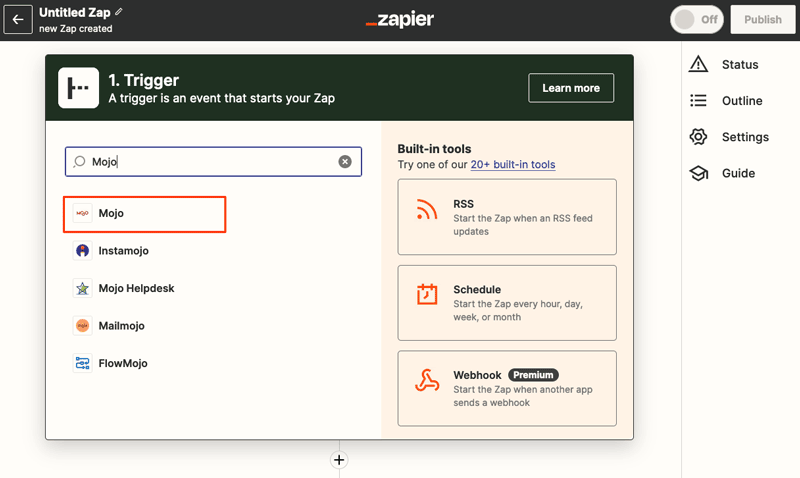
The first step in creating a Zap requires you to configure a Trigger.
A Trigger is an event that starts the Zap. In this instance, the Trigger will be when a New Contact is created using the New Contact Form in Mojo’s Data & Dialer section.
Type in “Mojo” into the Trigger search box to find the Mojo Zapier Integration app.
Choose Event #
Click into the “Choose an Event” field, and select “New Contact”.
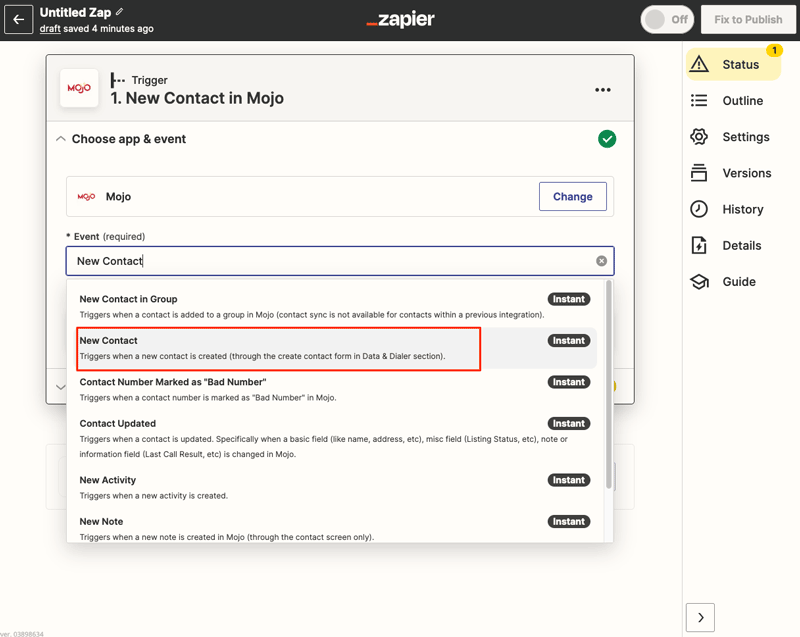
Then click the “Continue” button.
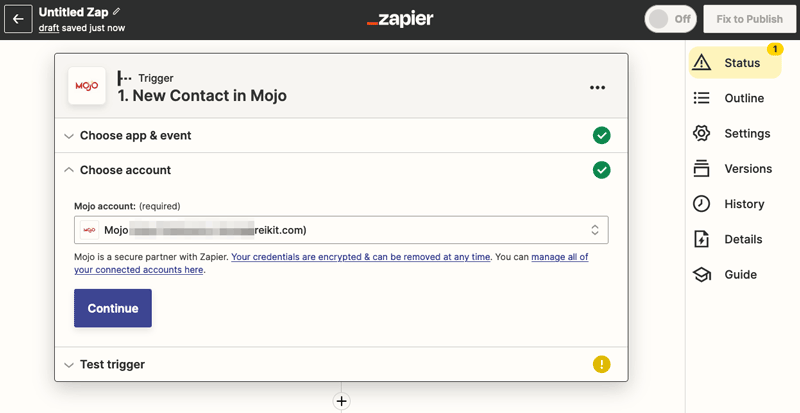
Choose Account #
In the “Choose Account” section you will need to Sign In into your Mojo account using your Mojo email address and password.
Note: If you have previously connected another Zap to this Mojo account, then you will not need to sign in, and will just select the existing connection to Mojo.
Click on the “Sign in” button to begin connecting the Mojo account.
Doing so will pop up the Mojo sign in dialog box.
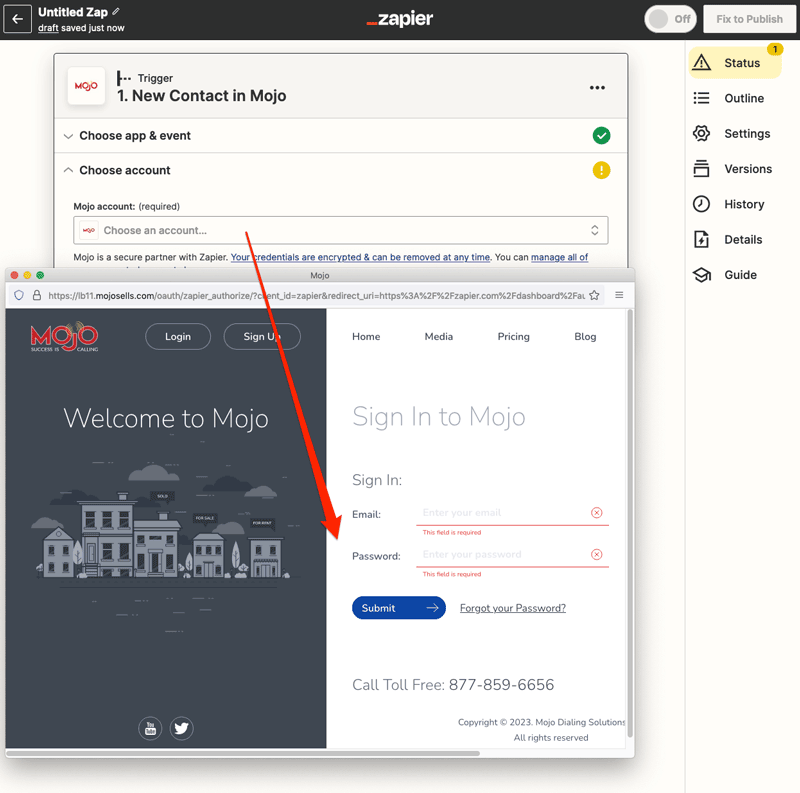
In this form you will enter the email address and password that you used when you signed up for Mojo.
If your sign in through the Mojo dialog box is successful, or if you were previously logged in, in the next screen you can click “Continue” to finish setting up the trigger.
This will take you to the next section which is to Test your trigger.
Test Trigger #
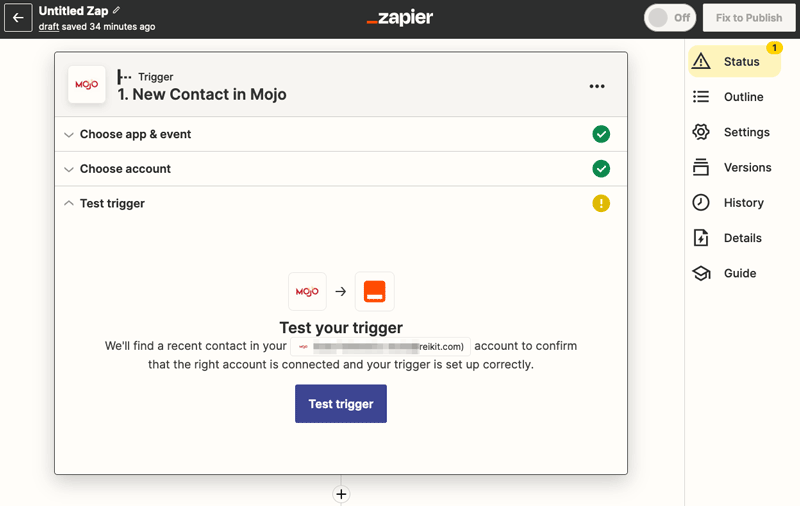
When you click the “Test trigger” button, Zapier will look into Mojo, and will try to pull out a Contact to test with.
If you have not yet added any Contacts in your Mojo Dialer, before you click on the “Test trigger” button, go to Mojo and add a Contact with a name, phone number, address, and email address.
Now that you have at least one Contact in Mojo, click the “Test trigger” button which will retrieve a Contact to test with.
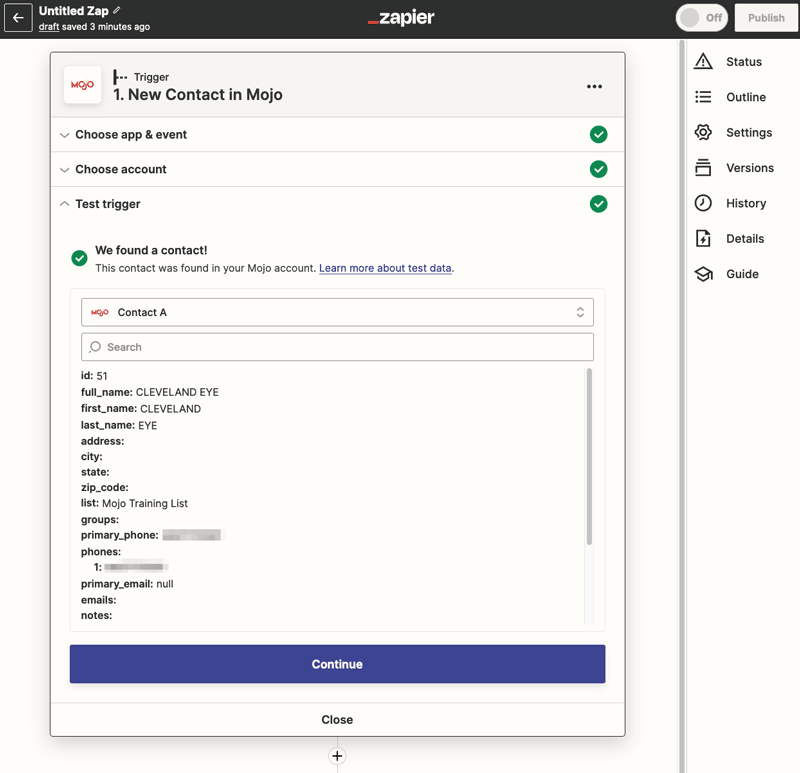
Select a Contact and click the “Continue” button to continue with the next step, configuring a Zapier Action.
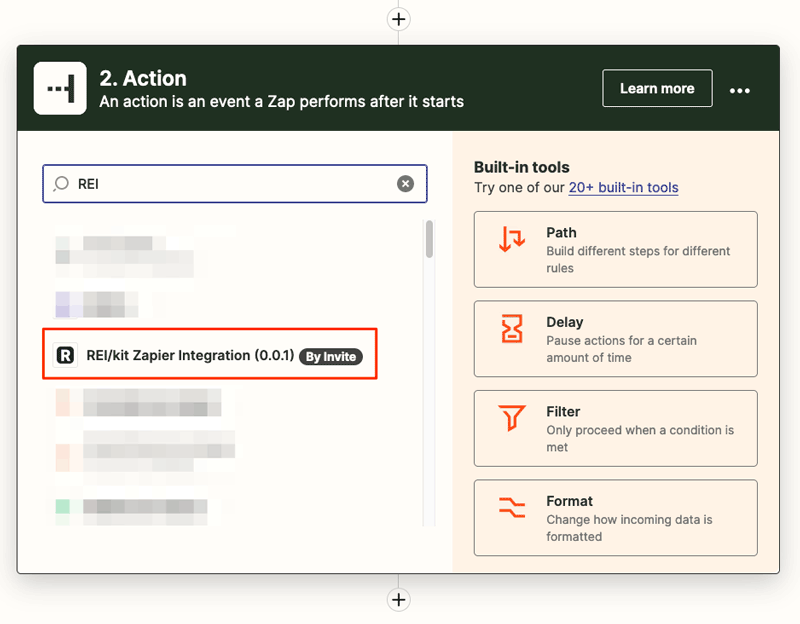
Configure an Action #
An action is what you tell Zapier to perform after it has been triggered. In the case of this Zap, the action will be to send the newly created Contact in Mojo dialer to a list in the REI/kit CRM.
In the Action Search box enter REIkit to find the REI/kit Zapier Integration app and select it.
Choose App Event #
Click into the “Event” search box, and choose the “Import Contact” event listed.
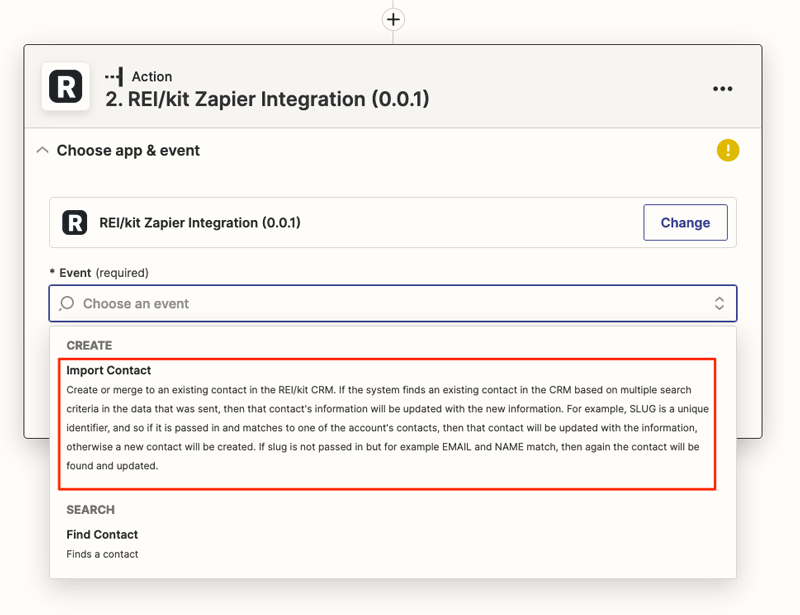
Then click the “Continue” button to go to the next step.
Choose Account #
In the “Choose Account” section you will need to Sign In into your REI/kit account using the Zapier API key that you created in your REI/kit account profile settings earlier in STEP 2 of this guide.
Note: If you have previously connected another Zap to this REI/kit account, then you will not need to add this API key, and will just select the existing connection to REI/kit.
Click on the “Sign in” button to begin connecting the account with your API Key.
Doing so will pop up the API Key dialog box.
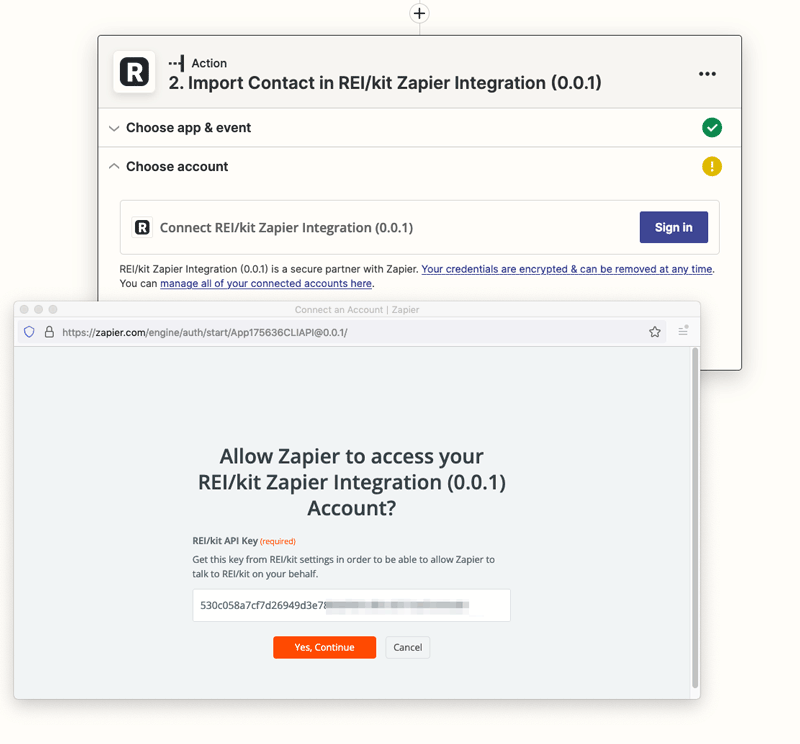
In this form you will enter the Zapier API key from your REI/kit settings.
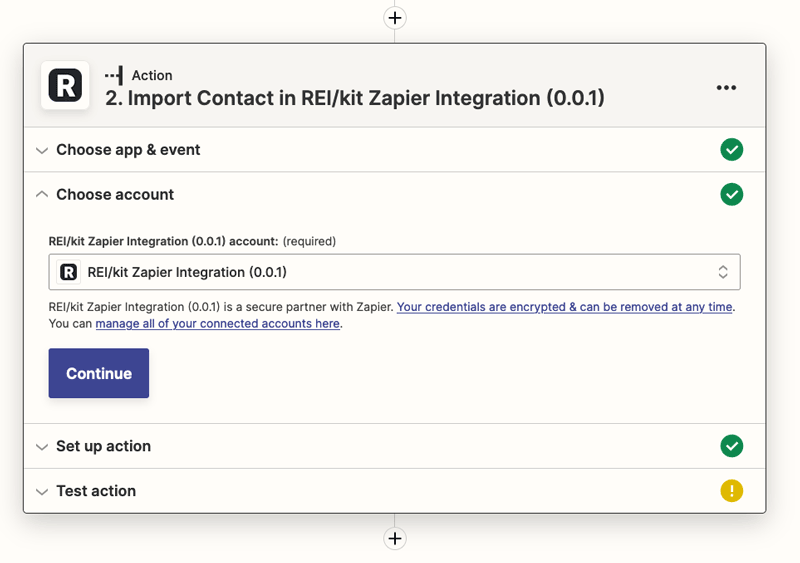
Once you have entered the API key and hit “Yes Continue”, you should successfully sign in.
You can then click the blue “Continue” button to begin setting up your action step.
Set Up Action #
This is where you will do the most important work, mapping your Mojo Contact fields to the REI/kit CRM Contact fields.
You will map all of the fields by clicking into each REI/kit CRM field, then searching for the name of the corresponding Mojo CRM Form field in the “Search all available fields” search box.
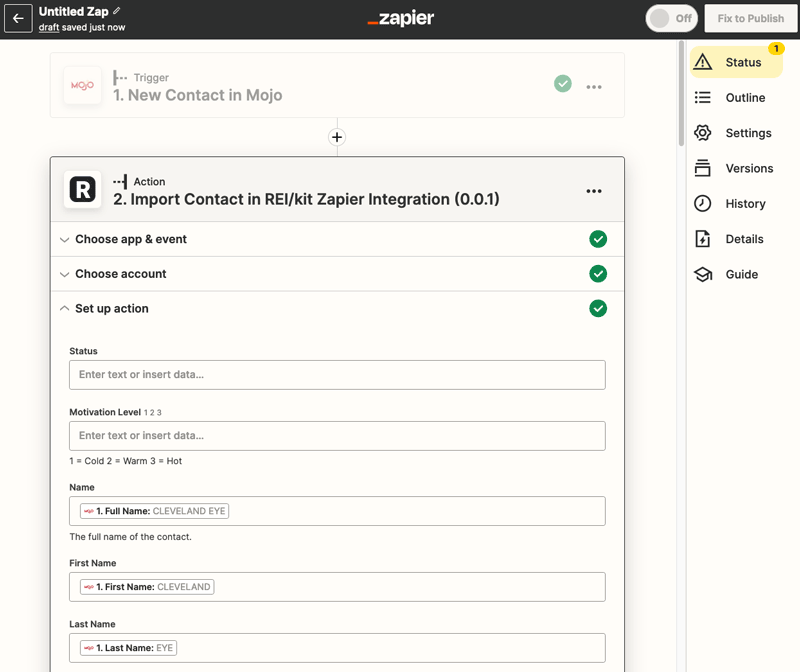
The most important fields to map include, name, phone numbers, email, as well as address.
Tips #
One common mistake while mapping fields is to try to perform a search in the “Enter text or insert data” field identifying the CRM field, instead of clicking into the “Search all available fields” search box before starting the search.

Once you have finished mapping your fields, click on the blue “Continue” button to test your action.
Since you have not mapped most of the fields you will get a summary screen that shows you the four or five fields that you have mapped, and the fields that you haven’t. (You don’t have to map every field, though you should map as many as possible)
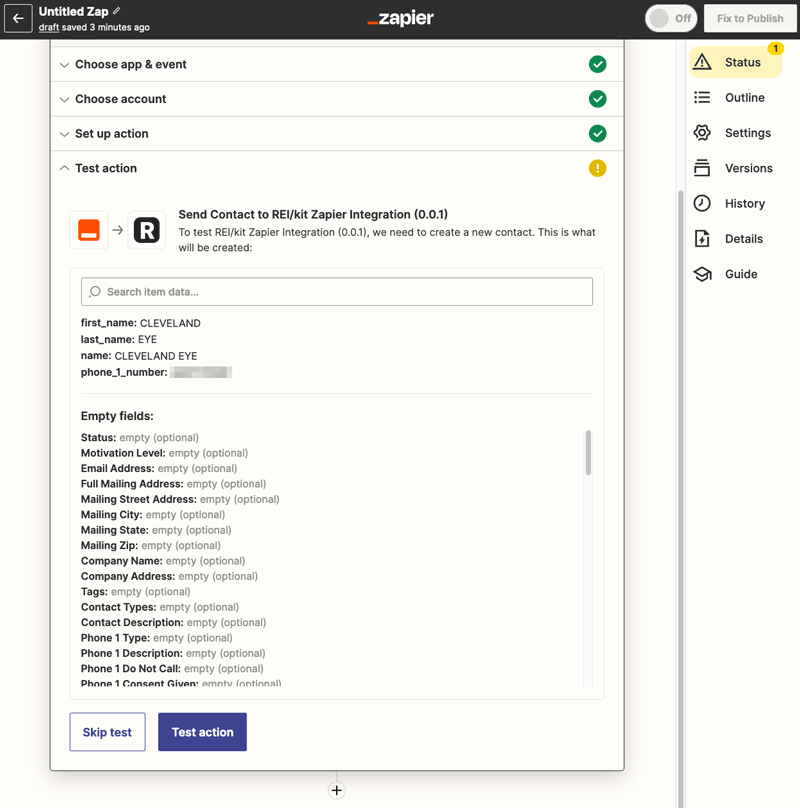
Test Action #
If you are satisfied with your mapping, you can click on the “Test action” button to test your action.
Clicking on the “Test action” button will send the test Contact from Mojo to REI/kit using the mapping that you just configured.
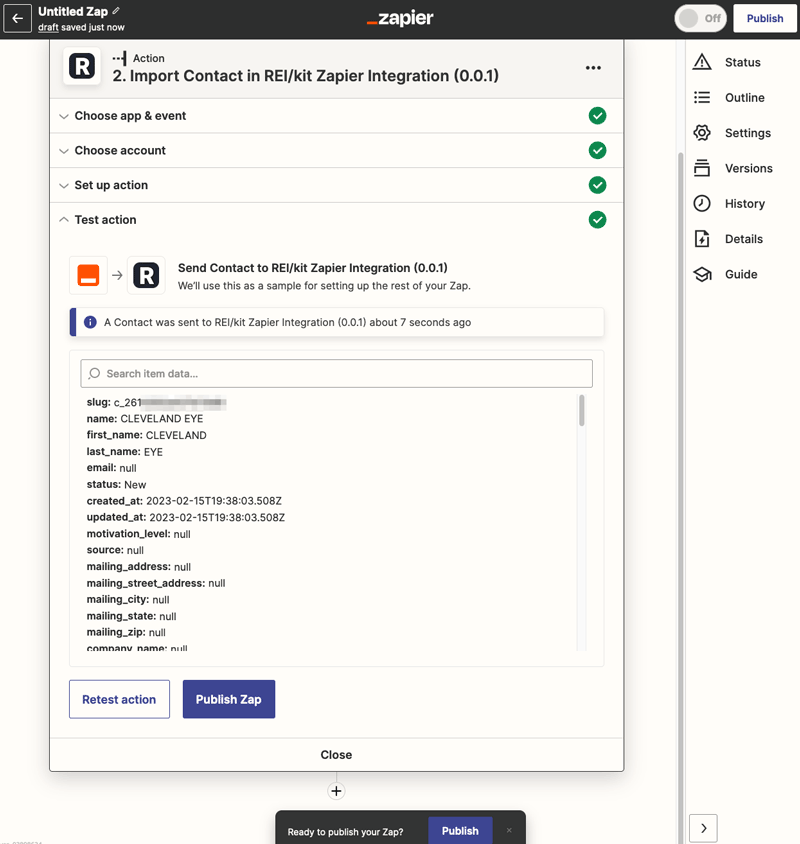
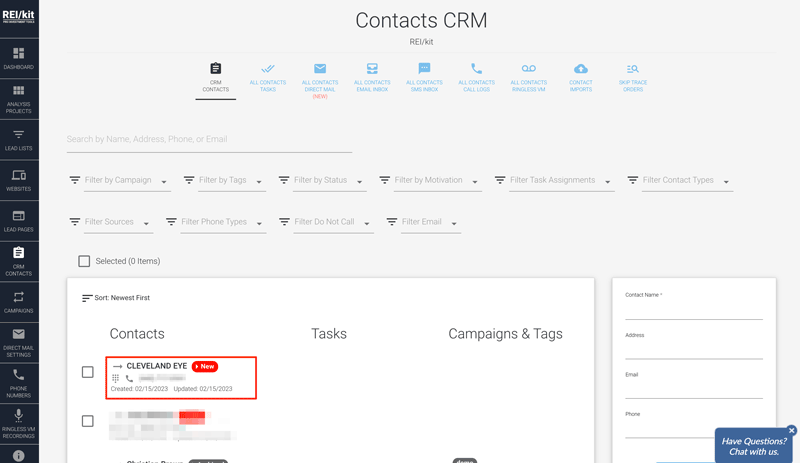
You can now check for your Contact in your REI/kit CRM to which you sent the Contact.
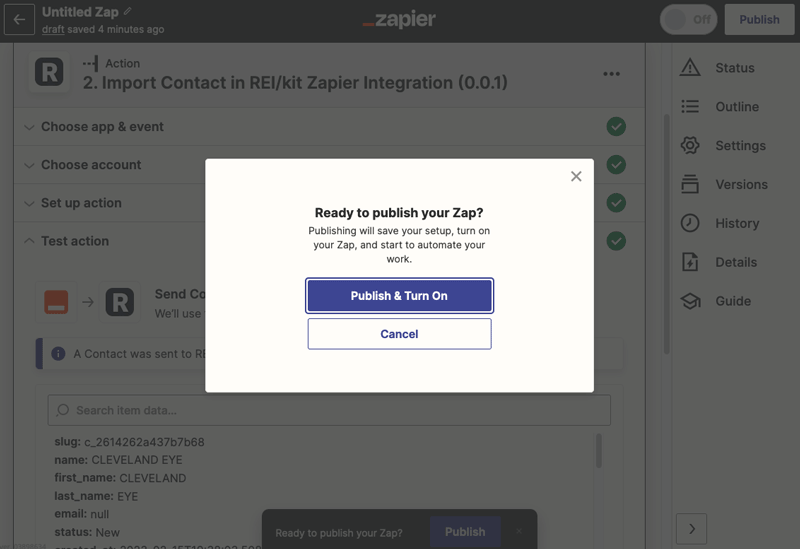
If you are happy with the results, you can then click the “Publish Zap” button in the Zapier interface, to complete the Zap.
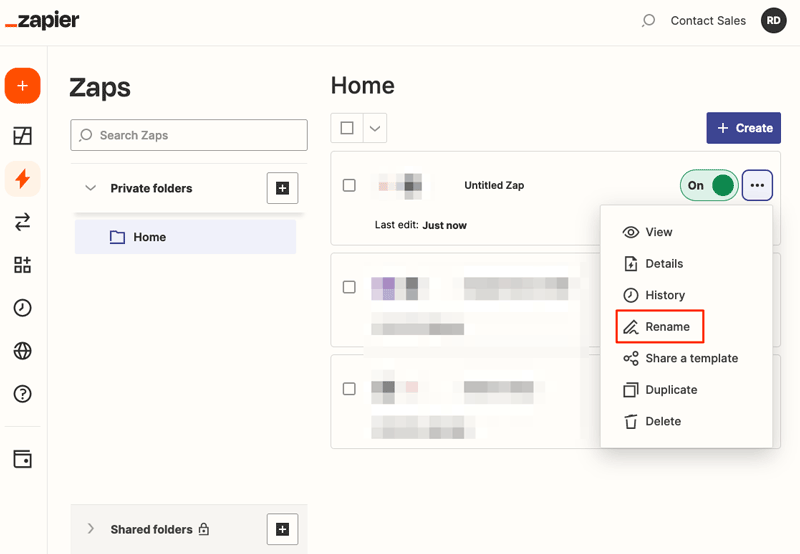
Now you have an Untitled Zap representing your Mojo to REI/kit CRM integration.
You should rename this Zap to something meaningful such as “New Mojo Contact to REI/kit CRM”.
This completes your Zap setup.
Any new Mojo contact should now flow into your REI/kit CRM.